
This Bread Machine Banana Bread recipe is soft and packed with banana flavor. The best part is that there is very little prep work involved. There is no need to mash bananas by hand because the paddle does that for you. Simply slice them thin, dump in the batter, and let the machine take over.

If this is your first time making bread in a bread machine, FIRST, you may want to make a Basic White Bread in the Bread Machine. This is how you will see what a bread machine was really made for.
While bread machines were originally designed for yeast breads, they can also turn out a surprisingly delicious loaf of banana bread when used correctly.
What You'll Learn
- Tips for getting a softer loaf
- How to make banana bread in a bread machine
- Which bread machine settings actually work
- Why black bananas are not the best choice
- Bread flour versus all-purpose flour
- Why quick breads are different from yeast breads
- When to remove the paddle
- How to avoid over-baking in your bread machine
One of my favorite things about this recipe is that I don't have to heat up the oven. During the summer months, that can make a big difference. Instead of heating the entire kitchen, the bread machine keeps most of the heat contained inside a small space. When the Kansas summer sun is already working overtime, I appreciate any excuse to keep the kitchen cooler.
Now before we get started, there are a few things you should know about making banana bread in a bread machine. It works differently than traditional oven baking, and understanding those differences will help you get the best loaf possible every time.
Then & Now
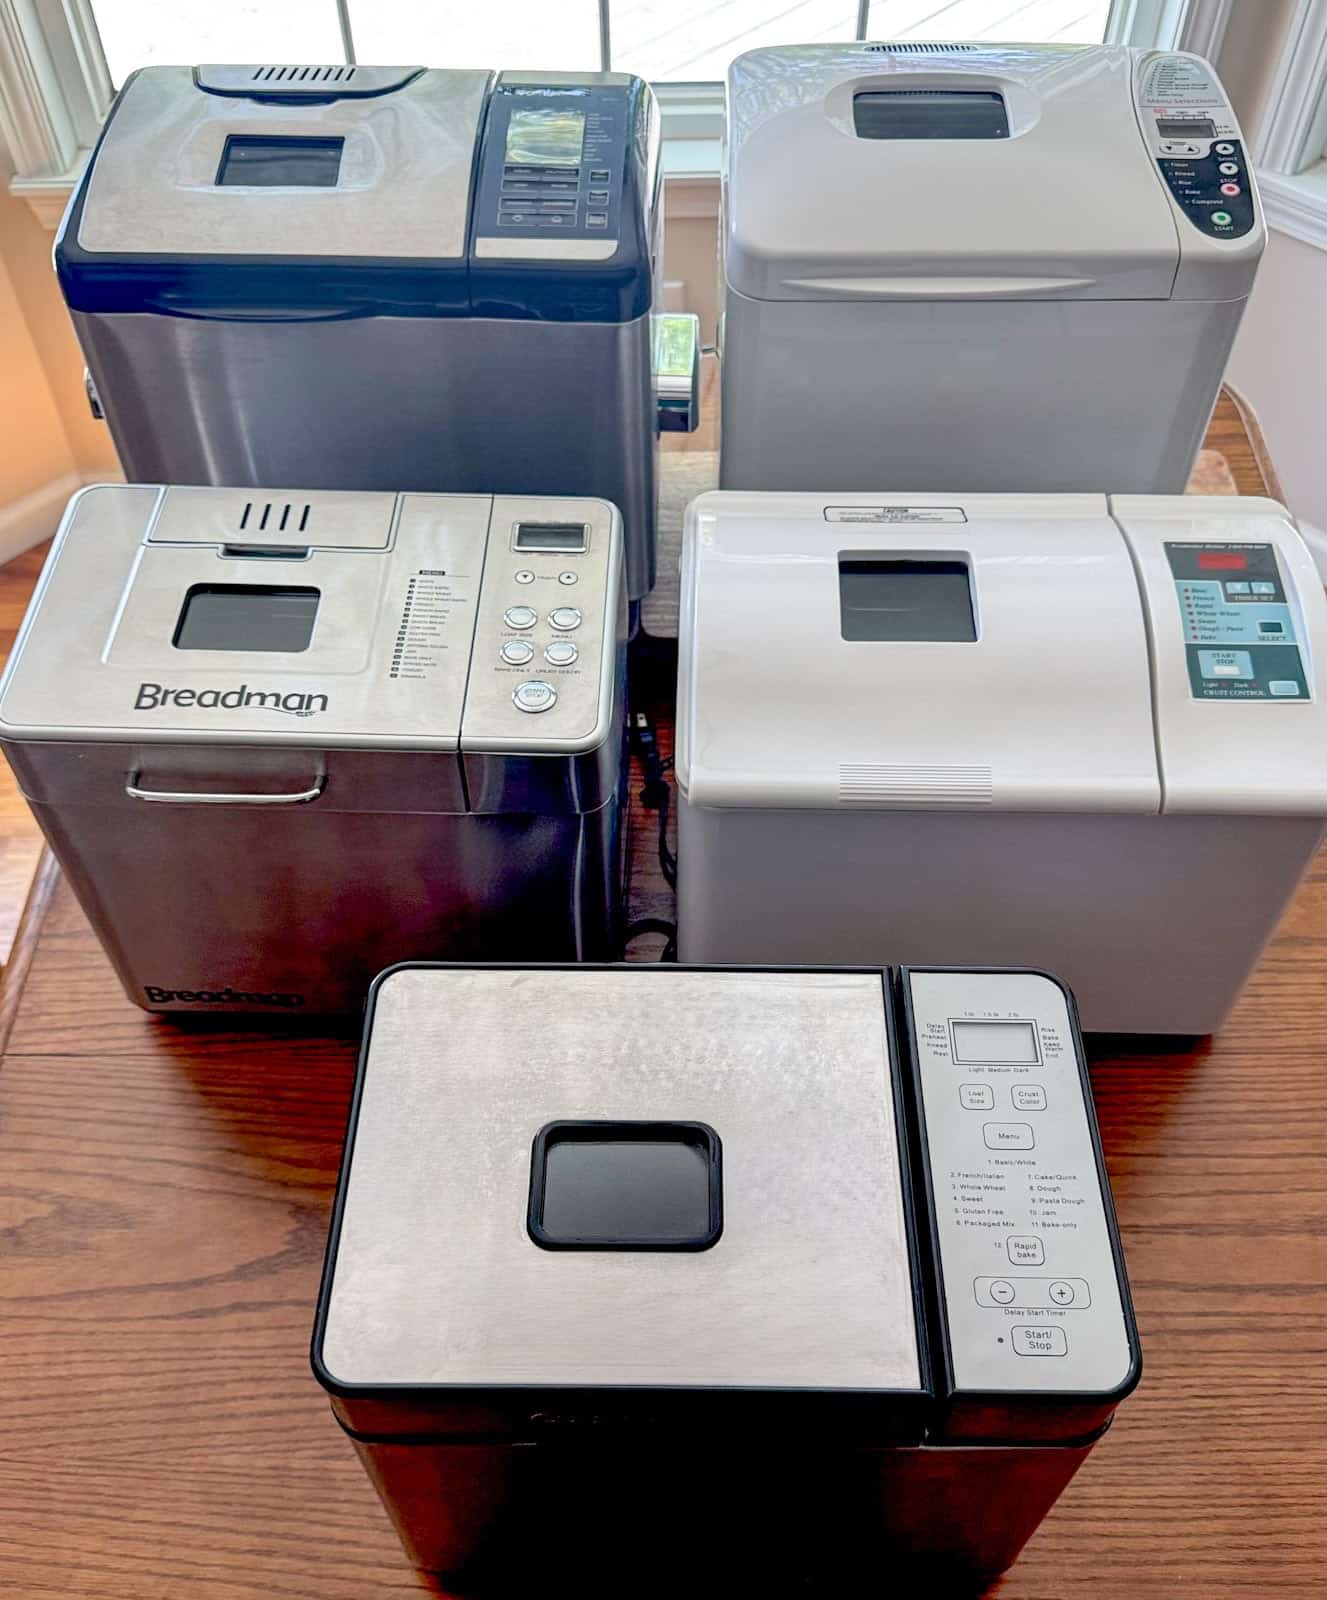
Yes, I have five vintage bread making machines.
For years I only used my bread machines for yeast dough. Cinnamon rolls, pizza dough, dinner rolls, white bread, wheat bread. If it involved yeast, I was all in.
That is really what bread machines were built to do.
The true talent of a bread machine isn't the baking. It is the kneading and rising. A bread machine can maintain the perfect temperature for yeast dough while automatically handling all of the mixing and kneading. It takes one of the most intimidating parts of bread baking and makes it almost foolproof.
Quick breads are a different story.
Many newer machines have a setting called Quick Bread, Batter Bread, or Cake. Older machines often do not. In fact, out of the five machines I own, only one lacks the setting completely. In the case of a machine that doesn't have a Quick Bread setting, you will just need to mash your bananas by hand, pour the batter in and set the Bake time.
This recipe is different than the other Banana Bread Machine Recipes
It also means that this banana bread recipe is a little different from my Traditional Banana Bread recipe that is baked in the oven.
When developing this version, I had to account for the way a bread machine bakes.
Unlike an oven, which surrounds the loaf with heat, most bread machines heat primarily from the bottom and sides. Because of that, I found that recipes often need slight adjustments to produce the best texture and color.
After many test loaves, I landed on a version that works beautifully in a bread machine. I found that mixing the batter together first makes a much tidier loaf. The other recipes toss the ingredients into the pan and let the machine do all the mixing but the end result is messy in the pan AND has patches of flour that the machine missed. To avoid that completely, we will mix the batter and pour it on top of the bananas, THEN let the machine take over. I also found that the bread machine mixing cycle is WAY too long for a quick bread.
To reduce the amount of leavening agent, I only use 1 teaspoon of baking soda and add 2 teaspoons of lemon juice to give it a boost. I've had so many baked goods (even at bakeries) where I can taste either the baking soda or usually the baking powder. I'd rather use a lesser amount and then boost the rise with food ingredients like lemon juice for the acid reaction.
In my other recipe, it also only uses baking soda but the extra acid in sour cream helps with the boost. I found that adding sour cream in this bread machine version just lends too much moisture under the baking circumstances.
I'm going to be completely honest with you. It is deep within my soul that Banana Bread and other QUICK BREADS should be made in a loaf pan, and baked in the oven. For this reason, this is the only Quick bread recipe for the Bread Machine you will find on my site. To bake it the traditional way, follow my Banana Bread Mini-Loaves Recipe. But keep reading about my nemesis, rotten bananas.
Why You Should Not Use Black Bananas
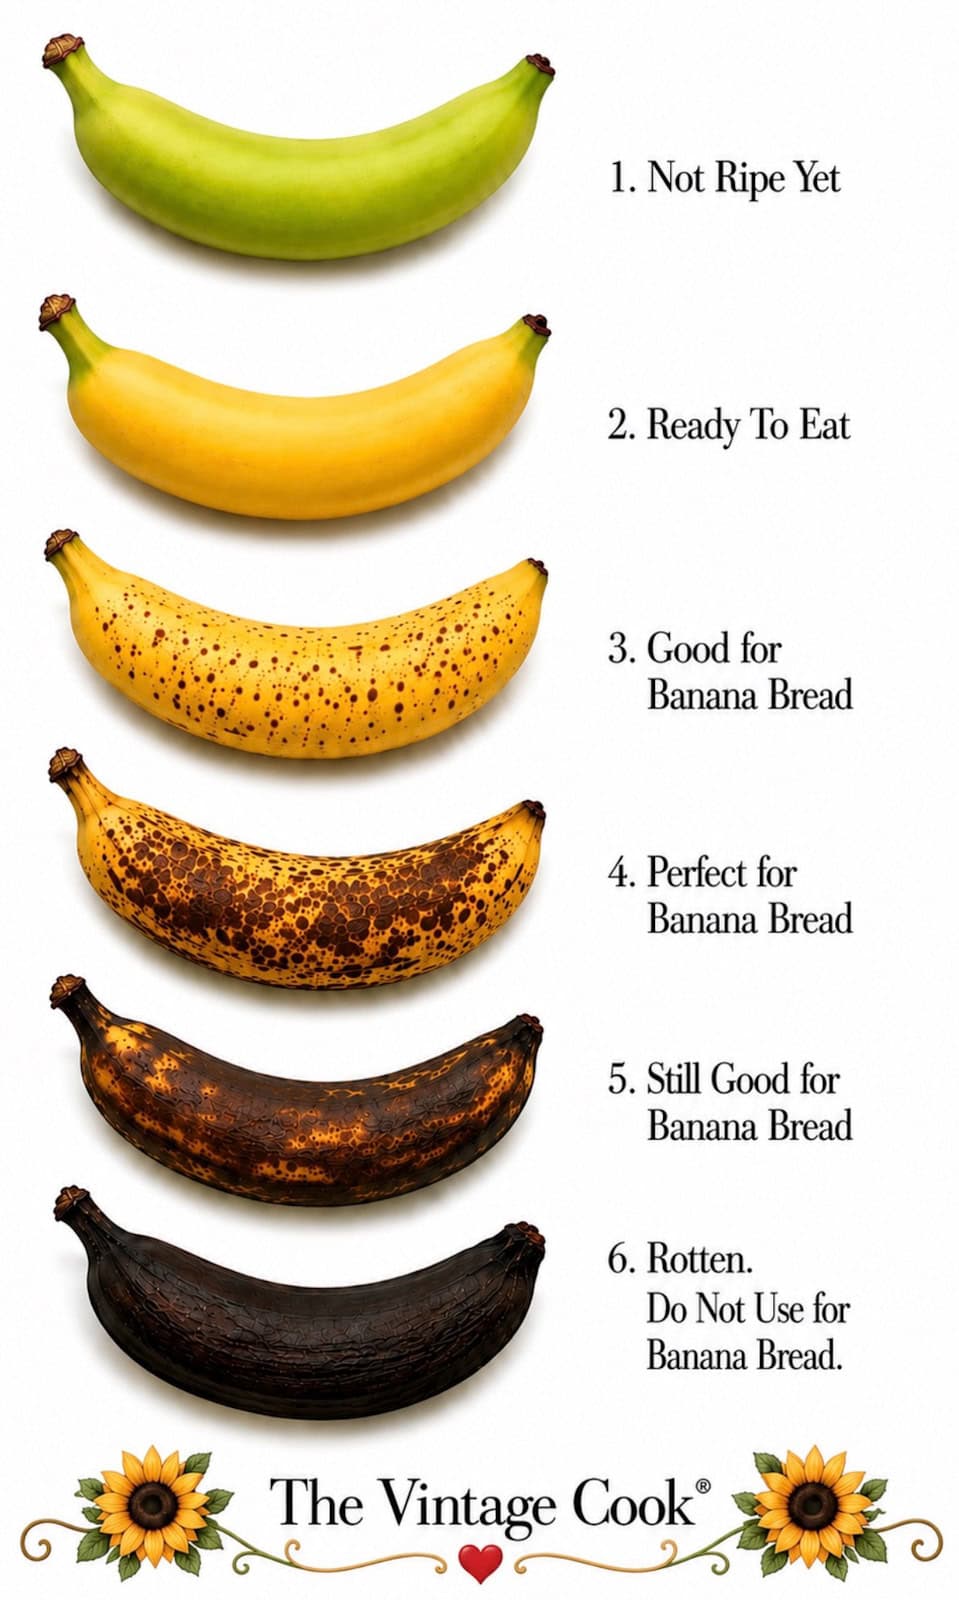
One of the biggest myths in baking is that black bananas make the best banana bread.
I know you've probably heard that before.
The truth is that there is a difference between ripe bananas, overripe bananas, and rotten bananas.
The ideal banana for banana bread is yellow with plenty of brown freckles. 50% yellow, 50% dark with no green stem. At that stage the starches have converted into sugars, giving you plenty of sweetness and banana flavor.
Once a banana turns completely black, it has moved beyond ripeness and entered the early stages of decomposition.
As bananas continue breaking down, fermentation begins. Natural yeasts start feeding on the sugars. This process can produce alcohol compounds and unpleasant flavors. The texture becomes watery and mushy rather than creamy.
Even worse, mold growth can begin before it becomes visible to the naked eye. A completely black banana may not make you sick, but it can create a loaf that tastes slightly fermented, rotten, or just plain off. The texture can also become gummy, giving your bread a sticky top.
For this recipe, look for bananas that are heavily speckled with brown spots but still have some yellow showing. Those bananas provide the best flavor and texture without crossing into rotten territory.
Bread Machines Were Built for Yeast Bread
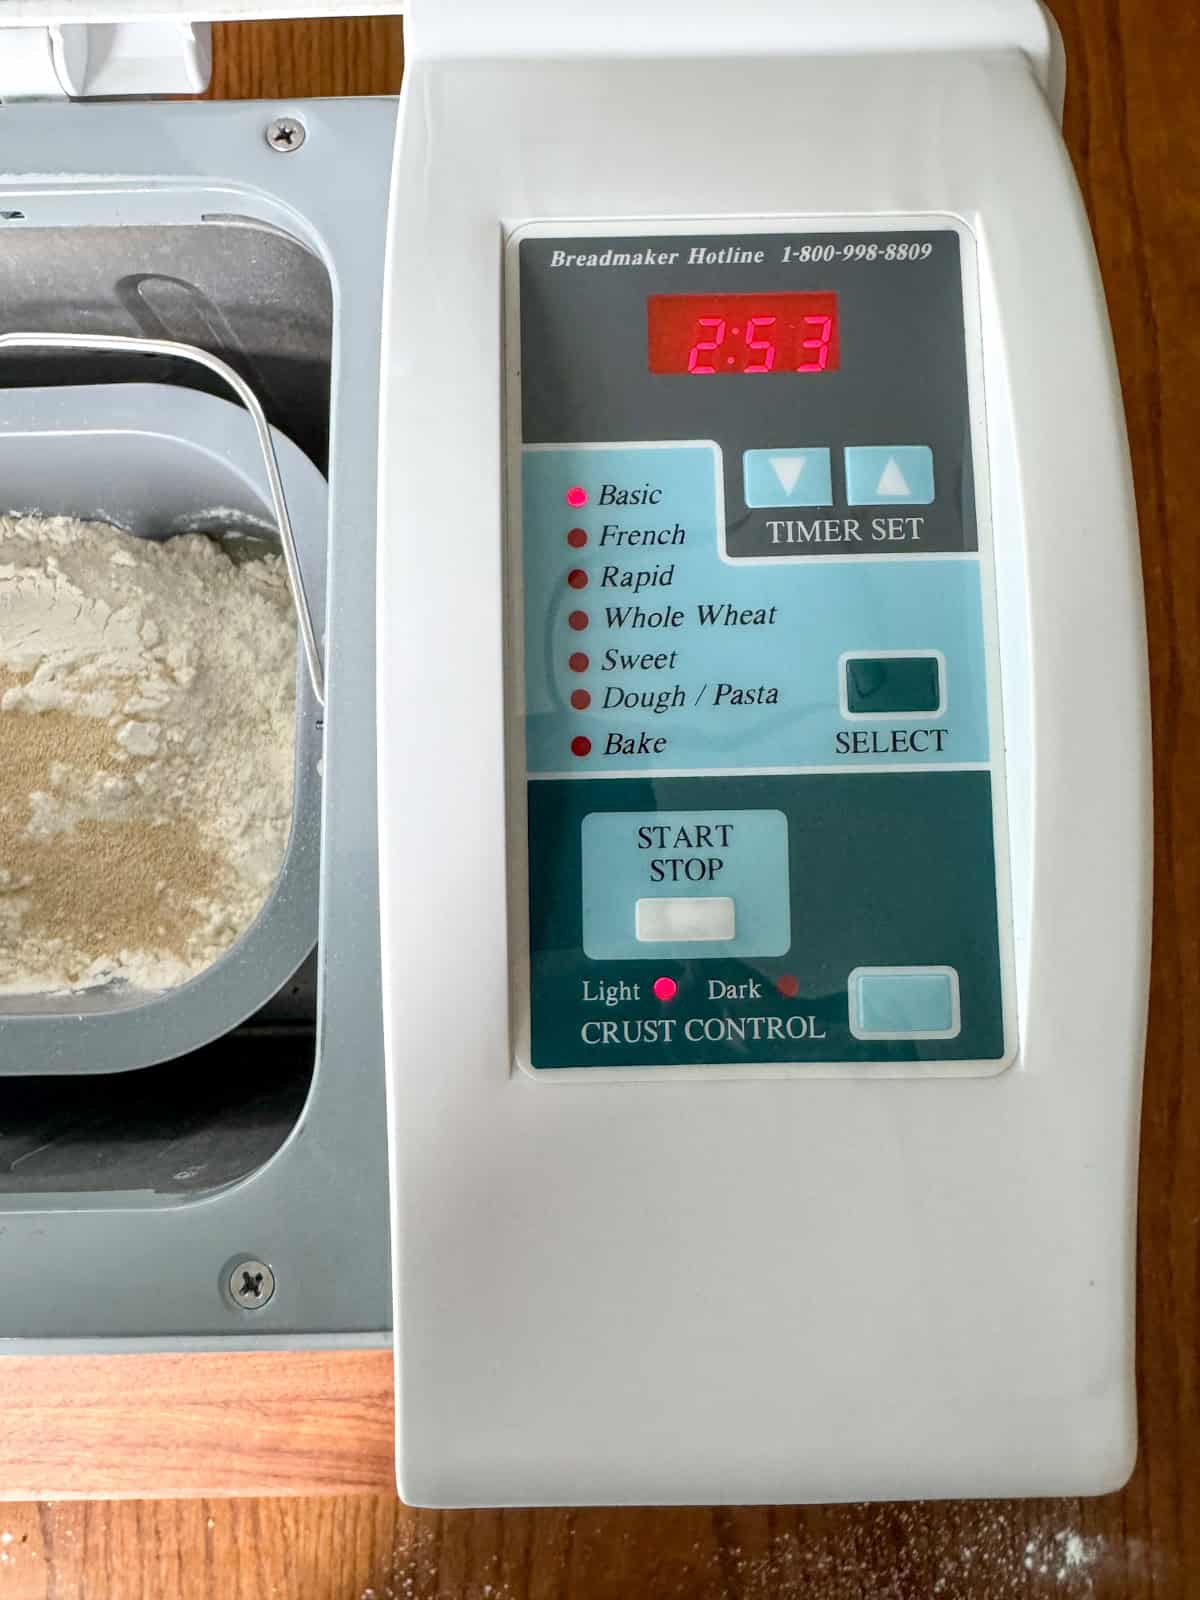
This is a photo of the panel on my oldest machine. As you can see, no Quick breads cycle. This machine happens to be my favorite one to make my Favorite White Bread.
Traditional bread machines were designed around yeast breads. Their cycles are carefully programmed to knead dough, allow it to rise, punch it down, allow it to rise again, and finally bake it.
Quick breads don't need any of those rise cycles.
Banana bread uses chemical leaveners instead of yeast. The batter is mixed and then baked immediately.
That is why manufacturers eventually introduced settings labeled Quick Bread, Batter Bread, or Cake.
Those programs skip the rise cycles and move directly into mixing and baking.
If your machine has one of those settings, you are ready to go.
If your machine only has settings labeled Rapid or Super Rapid, that is something completely different. Those programs are designed for yeast breads that use extra yeast to speed up the process.
Before making this recipe, take a quick look at your machine's control panel. If you see Quick Bread, Batter Bread, or Cake, you're in business.
If you don't, you will need to mash the bananas before adding them to the batter because the machine will not be handling the mashing for you. I've added this variation with instructions at the bottom of the recipe card.
Bread Flour vs. All-Purpose Flour
This is one area that confuses many beginning bakers.
The name "bread flour" makes people think it should be used in every bread recipe.
Not true.
Bread flour is specifically designed for yeast breads.
I've spent a lot of time baking both yeast breads and quick breads over the years. In fact, I received Honorable Mentions in the National Festival of Breads three different times and the Best Pastry award. Last year they even introduced a Quick Breads category of its own.
That tells you something right there.
Quick breads may seem simple, but they are absolutely their own baking category. The techniques, ingredients, and goals are completely different. To me, comparing yeast breads to quick breads is a little like comparing a croissant to a cookie. Both are wonderful, but nobody would confuse one for the other. LOL.
Bread flour contains more protein than all-purpose flour. That extra protein develops more gluten, creating the chewy texture we expect in sandwich bread, dinner rolls, and pizza dough.
Banana bread is a quick bread.
For quick breads, we want the exact opposite.
We want a tender crumb and a soft texture.
Using bread flour can make banana bread heavier and slightly tougher than necessary.
All-purpose flour contains less protein, which limits gluten development. The result is a softer loaf with a finer texture.
That is exactly what we are looking for in banana bread.
If you've ever wondered why your banana bread seemed dense or chewy, using bread flour may have been part of the problem.
Ingredients
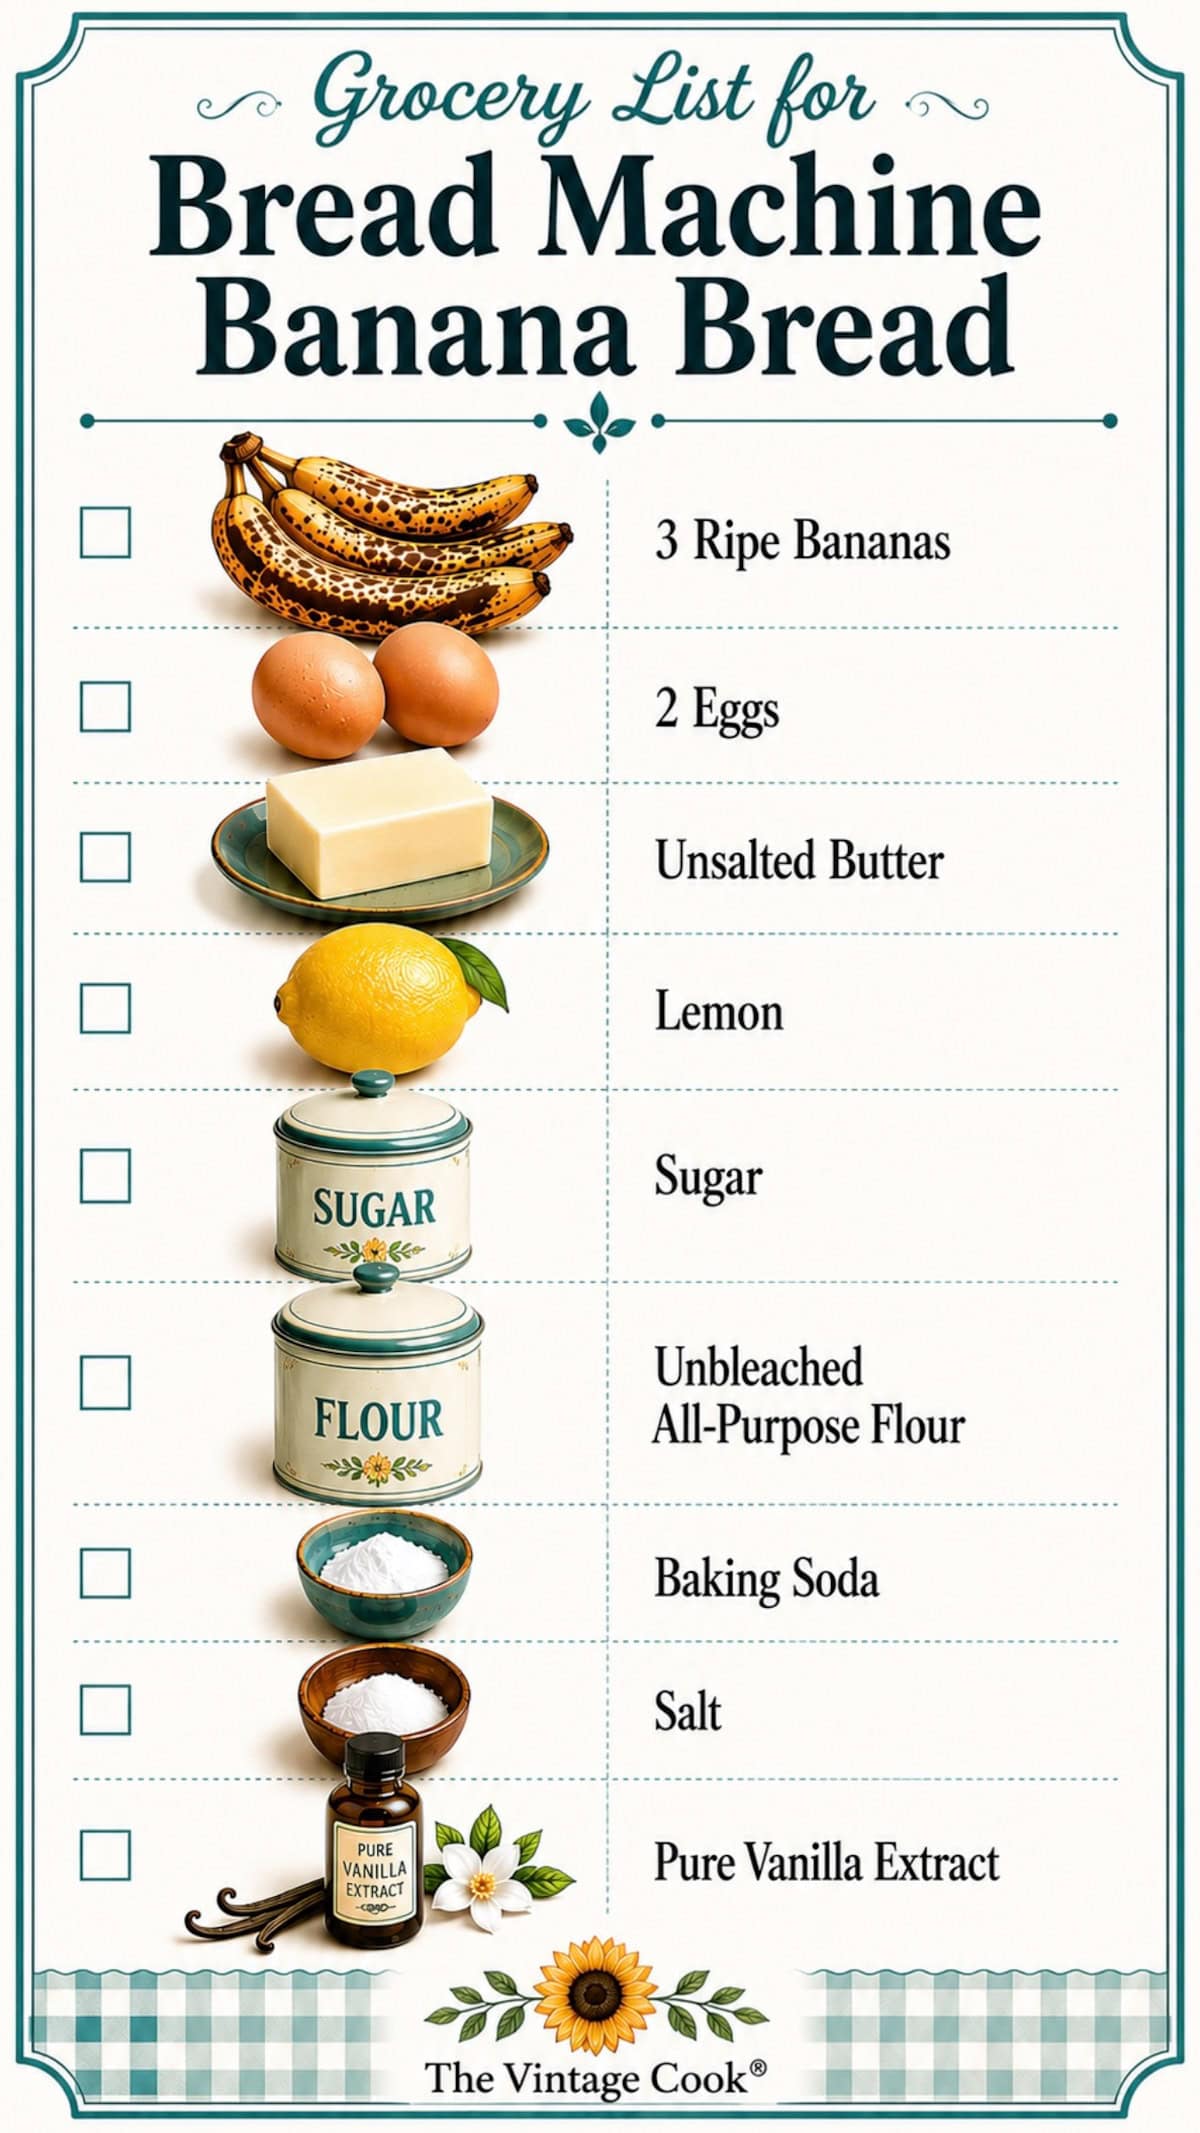
This recipe uses simple pantry ingredients that most bakers already have on hand. The bananas provide moisture, flavor, and natural sweetness.
The eggs help hold everything together. Butter creates a tender crumb and gives the bread its classic flavor. You can also use Salted Butter and just reduce the salt in the recipe to ½ teaspoon. You can also substitute with vegetable oil but it lacks a little flavor.
Sugar sweetens the loaf. I sometimes reduce the sugar to ¾ cup depending on the ripeness of my bananas. Also, if I am serving it with dinner I prefer it less sweet.
I go a little crazy and add a whole two teaspoons of vanilla. You can really taste it.
See the Video Tutorial for An Overview
How To Make Banana Bread in the Bread Machine
Step 1: Prepare the pan and slice the bananas.
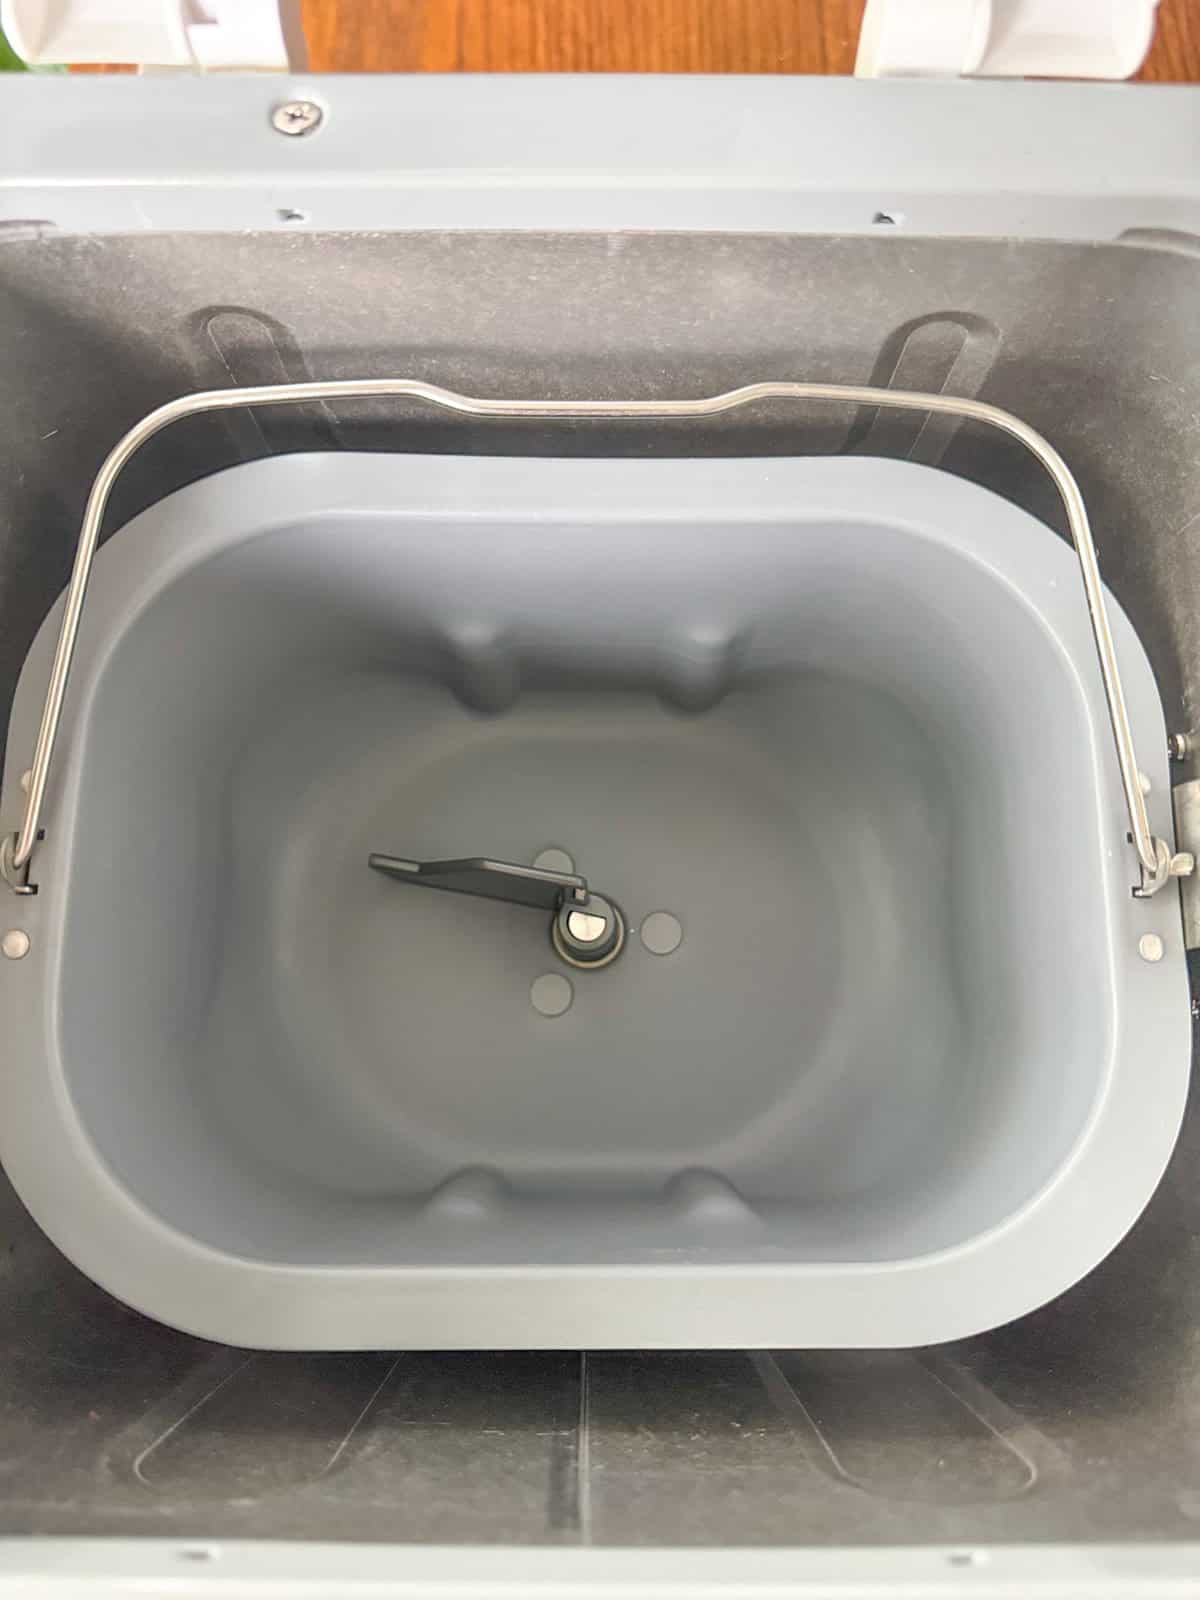
Make sure the paddle is securely attached to the bread pan before adding ingredients.
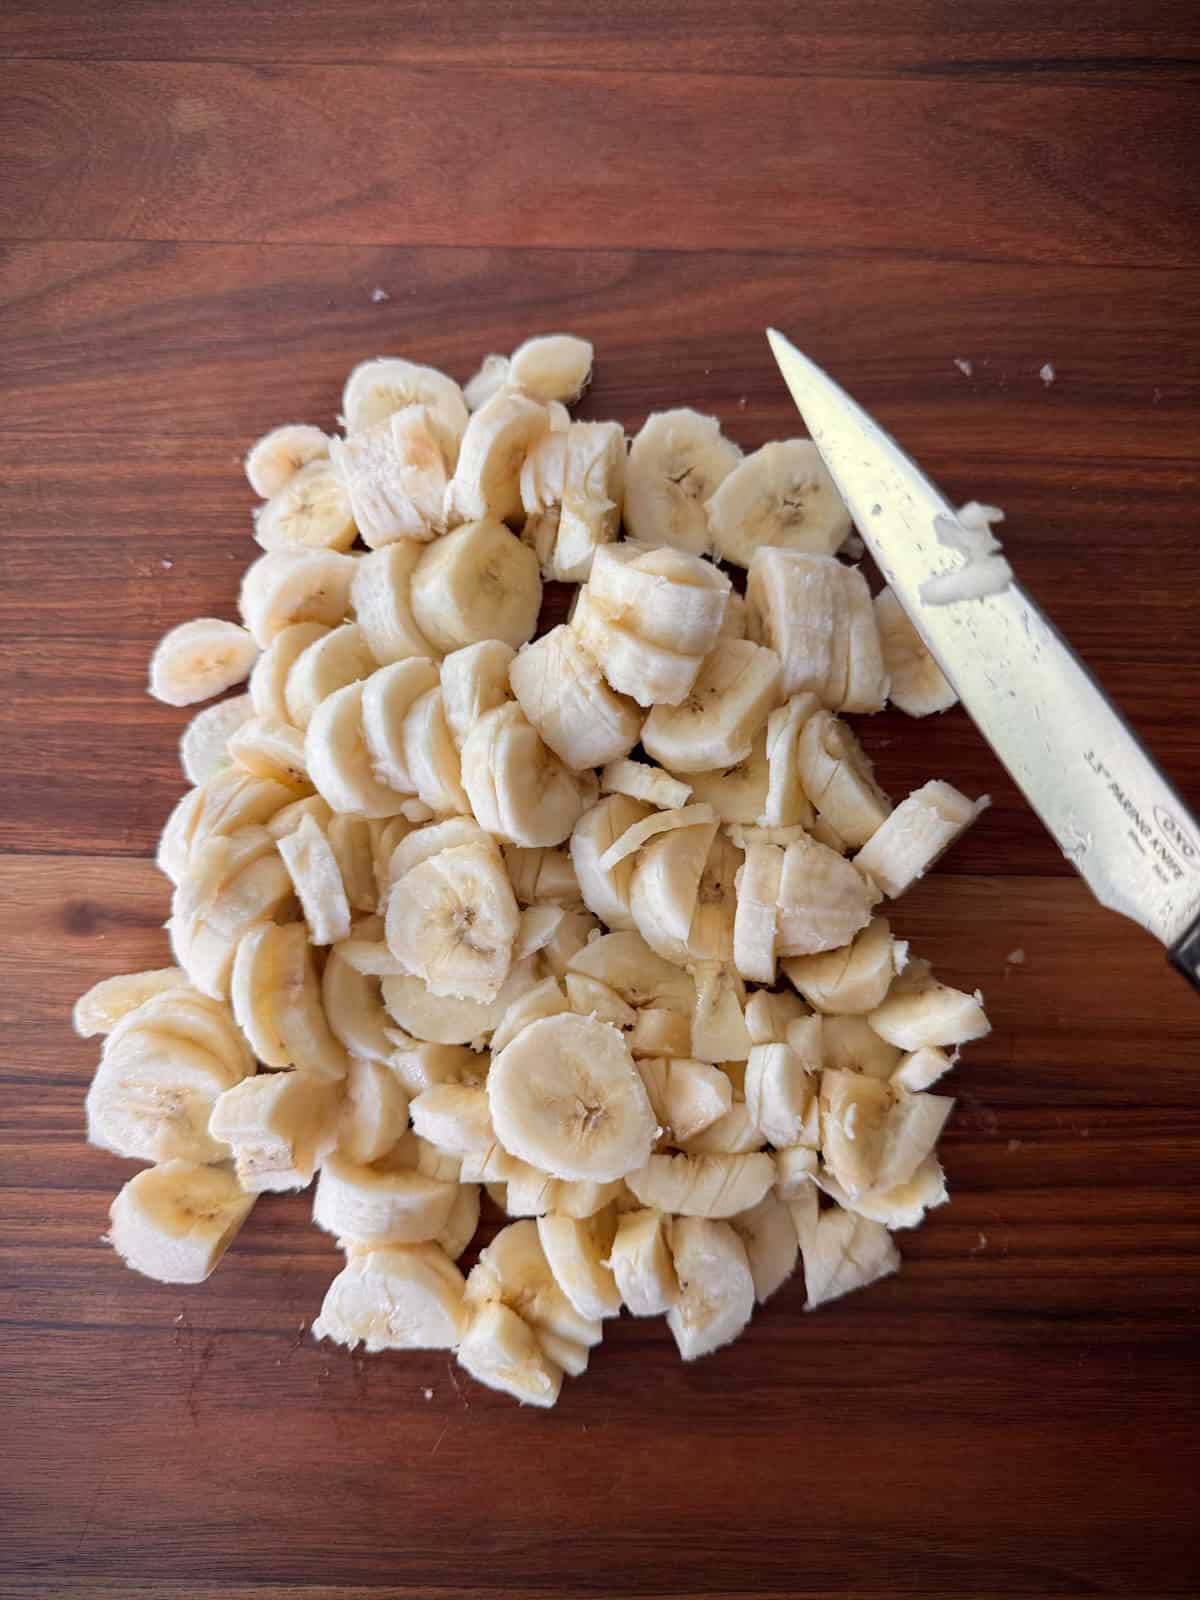
Peel the bananas and slice them into thin rounds. There is no need to mash them. The paddle breaks the bananas down surprisingly well during the mixing cycle. Place the bananas in the pan.
Step 2: Make The Batter
In a large bowl, add the remaining ingredients according to the recipe card.
For this recipe, I use what I call "Grandma Style Measuring."
For quick breads, I use the scoop and swipe method. Scoop the flour into the measuring cup and wipe the excess off with the back of a knife or your hand. No need to pull out a scale!
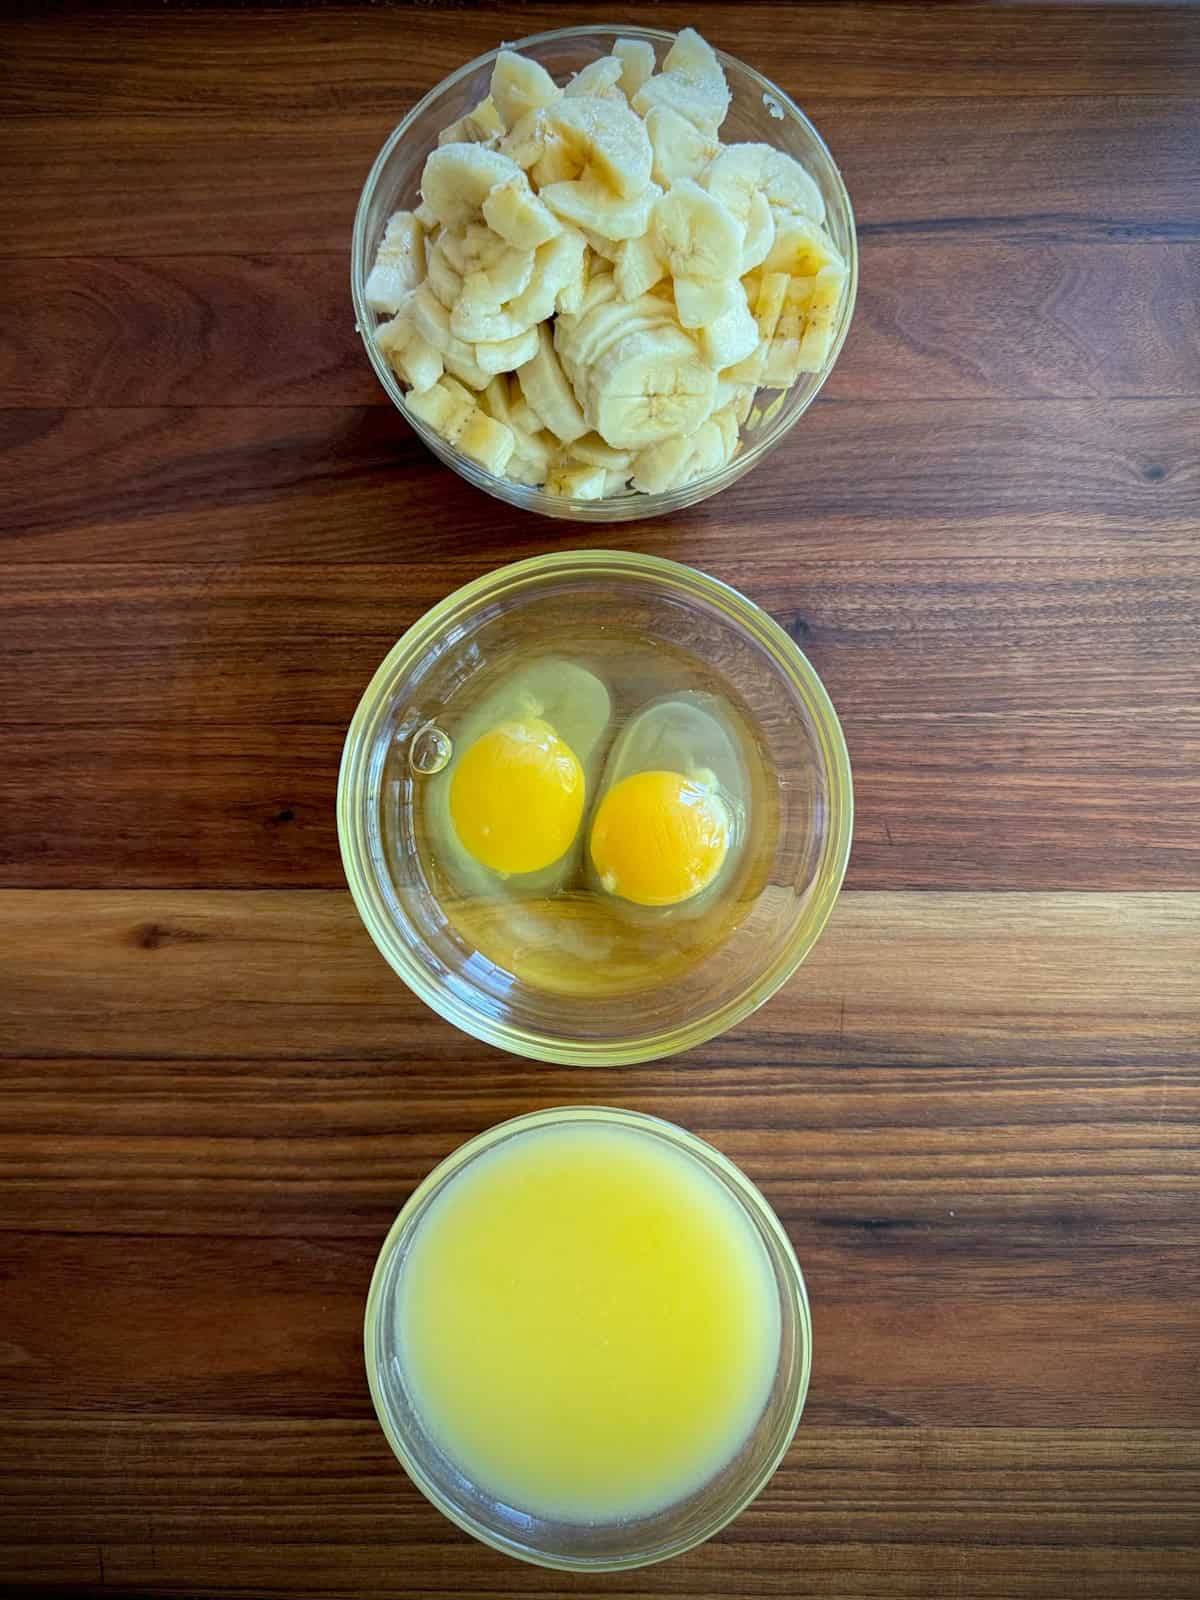
Crack the eggs into a separate bowl first. Trying to fish out a shell is no fun. 🙂
Step 3: Select the Correct Setting
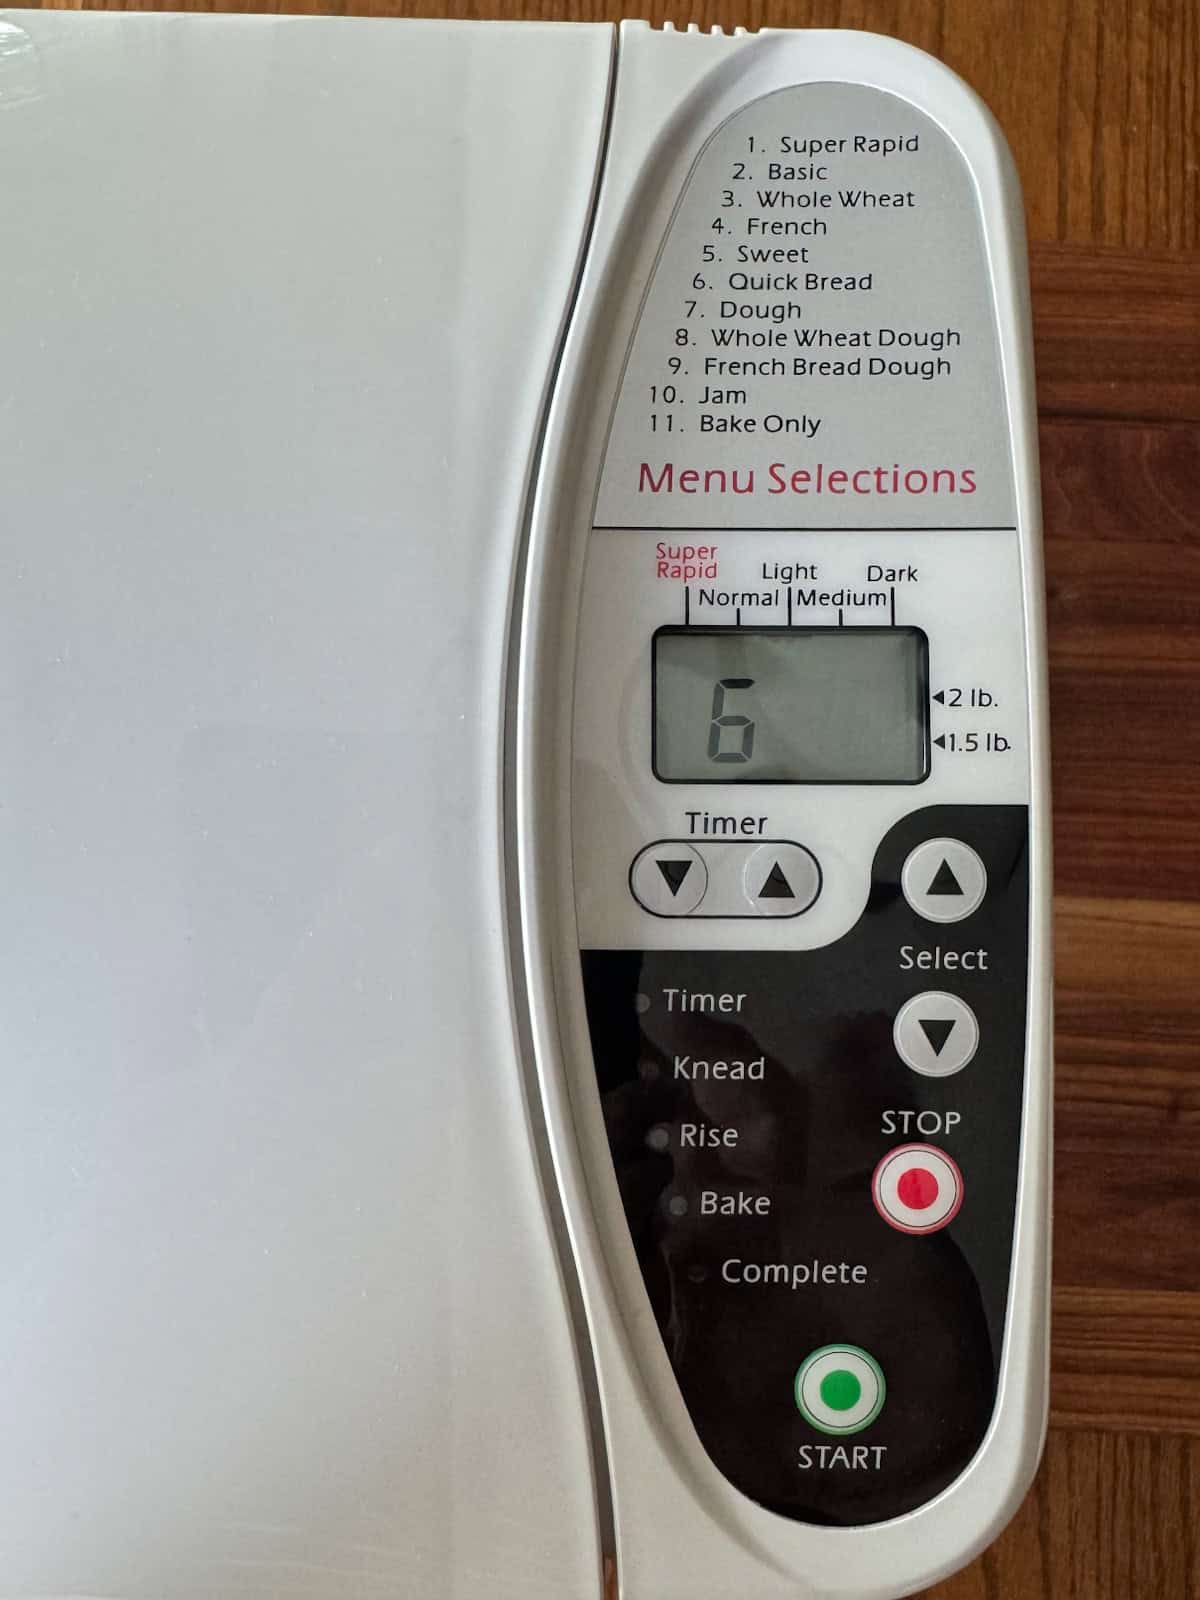
Choose the Quick Bread, Batter Bread, or Cake setting. The assigned number varies from maker to maker.
Do not use Rapid or Super Rapid. Those cycles are intended for yeast breads and will not produce the same results.
Select a LIGHT crust if your machine gives you that option. Often, the weight and color are pre-determined for the setting.
Close the lid and press Start.
VARIATION: For a Machine that doesn't have a Quick Bread Setting
Select: Menu
Select: Bake
Set time to 1 hour, 10 minutes.
Select Start
As the machine begins mixing, wait 5 minutes and take a quick look inside.
Use a rubber spatula to scrape down the sides of the bread pan if flour is sticking in the corners.
This only takes a few seconds and helps ensure everything gets incorporated properly.
Step 4: Paddle Removal
You may remove the paddle just before the bake cycle begins if you want a smaller hole in the bottom of the finished loaf. I highly recommend that for a quick bread you remove the paddle because it can hinder the center of the bread baking evenly.
This is completely optional on yeast breads but for this recipe I would remove it.
Sticky Fingers
Some machines come with a little tool to pull the paddle out. The other option is to stick your fingers in there and get a little goopy. Even if you take the paddle out, you are still going to have a little hole there. In some newer machines, the paddle actually recesses down flat so you don't have to remove it.
Step 6: Watch for Doneness
Don't open the lid. The heat will escape and cause your loaf to collapse in the center.
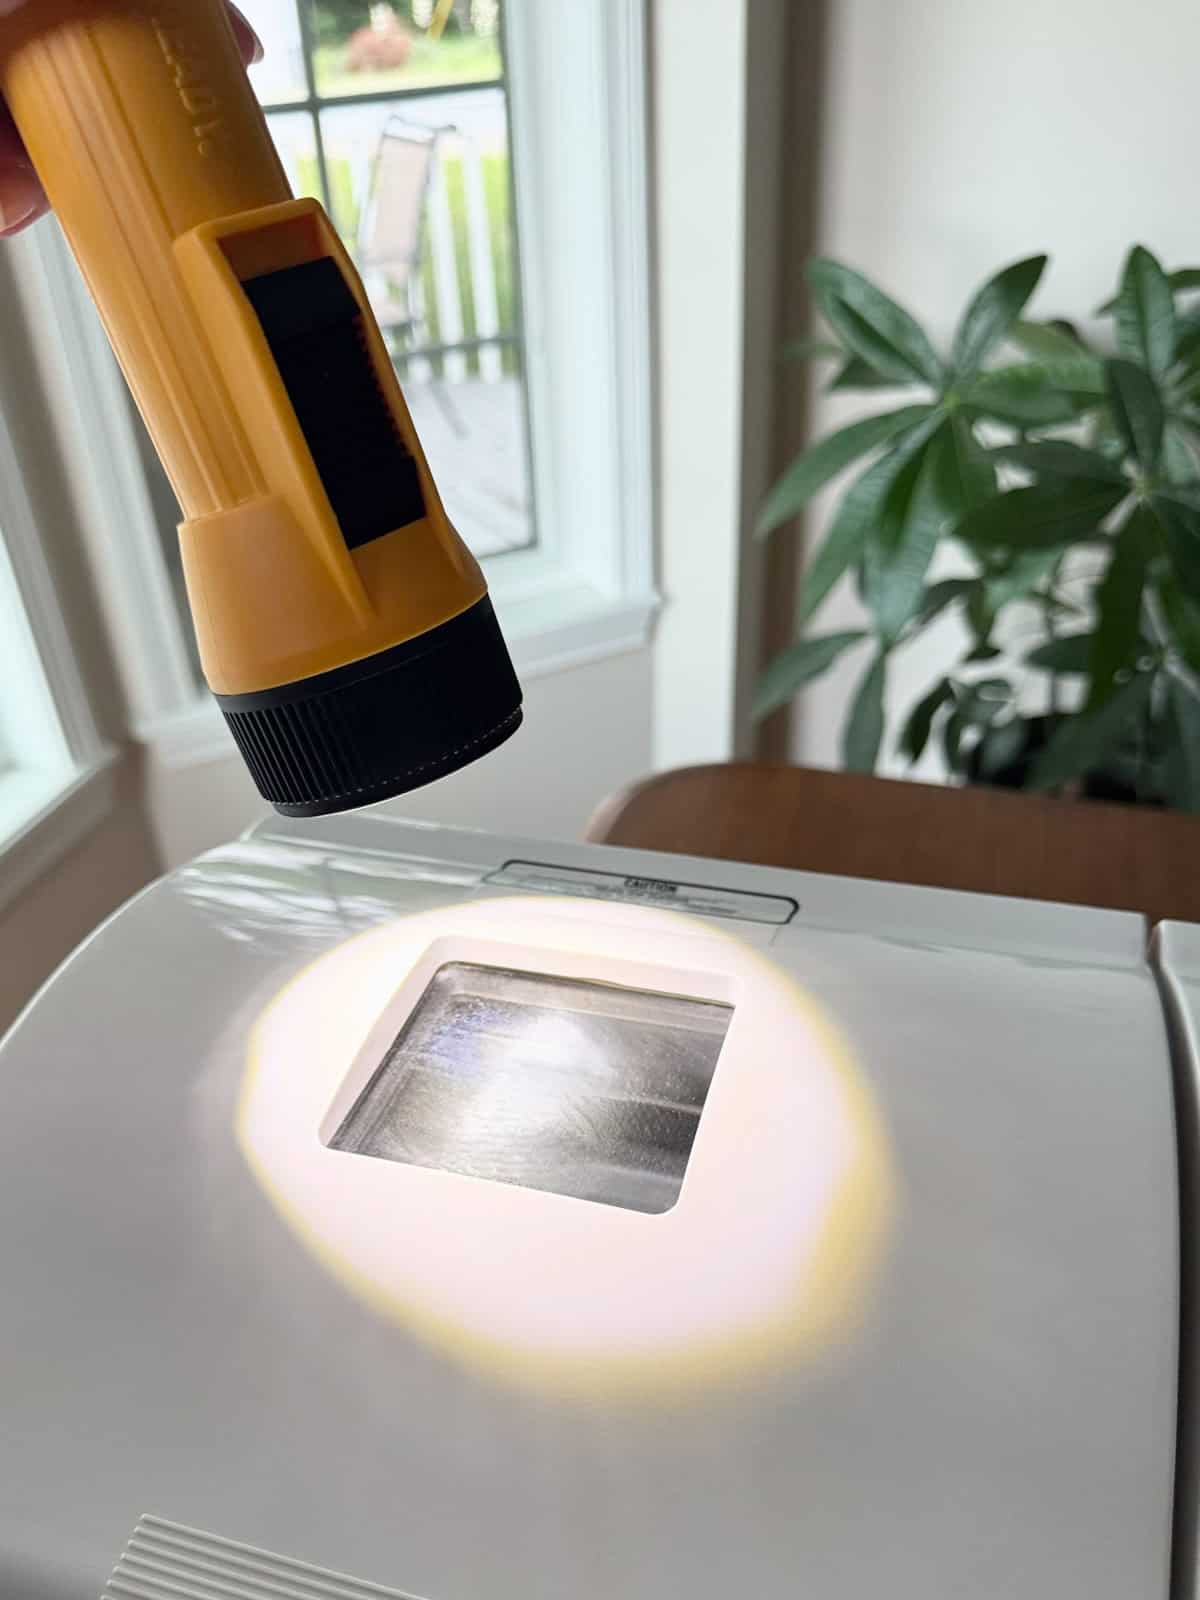
One thing I have learned after owning several bread machines is that many of them bake quick breads longer than necessary. Some machines have a light built in but none of my five machines has a light, because they are all vintage! 🙂
On all four of my "quick-bread" capable machines, the loaf is usually done well before the programmed bake cycle ends. In my experience, the bread is often perfect after about 50 minutes of baking.
Some machines continue baking for another 15 to 25 minutes. That extra time can dry out the loaf. The bread is done when the edges are golden brown and the center appears fully set.
Remember that total time varies from machine to machine. Different brands have different settings and different baking times.
Step 7: Cool Completely
When the bread is finished, carefully remove the hot pan from the machine.
Do not leave it sitting inside the bread maker.
This is one of the biggest tips I can give you.
I always remove the pan immediately and place it on a baking sheet or heat-safe surface.
After a few minutes, carefully remove the loaf and transfer it to a wire rack to cool completely.
Cooling the bread properly helps prevent excess moisture from becoming trapped inside the loaf.
Why Bread Machines Often Over-Bake Quick Breads
Bread machines were engineered around yeast breads.
Quick breads came later.
As a result, many machines use fairly aggressive bake cycles for banana bread and other batter-based recipes.
Over-baking can dry out the loaf and create darker edges than most people prefer.
That is why I encourage people to get familiar with their specific machine.
After you've made this recipe once or twice, you'll start recognizing when your loaf is done.
Every model behaves a little differently.
The owner's manual can provide guidance, but experience is often the best teacher.
Flavor Variations or Add-Ins
One of the things I love about banana bread is how easy it is to customize.
Once you've made the basic recipe successfully, you can start experimenting with different flavors and mix-ins.
Chopped walnuts are probably the most classic addition. They add crunch and pair beautifully with the sweet banana flavor.
Pecans are another excellent choice and bring a buttery richness to the loaf.
Chocolate chips are always popular and create little pockets of melted chocolate throughout the bread. However because of the aggressive baking around the edges, I'd add the chocolate chips in right before the bake cycle begins. Pour ½ cup down the center top and then use a chopstick or butter knife to blend them gently in without the chips touching the edges of the pan. This will prevent the chocolate from scorching.
For a fall-inspired version, add cinnamon to the batter or create a simple cinnamon swirl.
Just remember that bread machine pans are smaller than many traditional loaf pans. A little goes a long way when adding extras.
More Banana Recipes? Try these easy Banana and Oatmeal Bars.
Storage Tips
Banana bread stores very well, which makes it perfect for making ahead.
Once the loaf has cooled completely, wrap it tightly or place it in an airtight container.
It will stay fresh at room temperature for two days.
If your kitchen is particularly warm or humid, storing it in the refrigerator may help extend freshness.
For longer storage, slice the loaf and wrap individual slices in plastic wrap.
Then place the wrapped slices into a freezer bag.
This makes it easy to remove a single slice whenever the craving strikes.
Allow slices to thaw at room temperature or warm them briefly before serving.
Common Questions, Answered Here.
Can I make this recipe without the Quick Bread setting?
Yes, if your machine has a Bake cycle. Mix the batter separately according to the instructions, then pour it into the bread machine pan and bake according to your manufacturer's directions.
What if my machine has different settings?
Every bread machine is a little different. Look for Quick Bread, Batter Bread, or Cake. If your machine uses different settings or terminology, consult your owner's manual.
Lanie's 🔅Recipe Reflections & Tips
Notes and Tips
- Use bananas with brown freckles, not black peels.
- Use large eggs.
- Use all-purpose flour for the softest texture.
- Grandma Style Measuring works beautifully for this recipe.
- No need to measure grams.
- Scrape down the sides of the bread pan before baking.
- Remove the pan from the machine as soon as baking is complete.
- Cool the loaf completely outside of the pan before slicing.
- Total time varies from machine to machine.
- Don't rely on your machines baking timer, set your own.
Extra! Extra! Read All About It! Join my free email list to receive the Newsletter and follow along on YouTube!

Bread Machine Banana Bread
Ingredients
- 3 medium sized (or 2 Lrg.) bananas, ripe with brown freckles (*do not use black bananas)
- ½ cup unsalted butter, lightly softened/melted
- 2 teaspoons pure vanilla extract
- 2 teaspoons fresh lemon juice
- 1 teaspoon salt
- 2 large eggs
- ¾ cup sugar
- 2 cups Unbleached All-Purpose Flour
- 1 teaspoon baking soda
Instructions
- Before you begin, make sure your bread machine has a setting called Quick Bread, Cake, or Batter Bread. (Older models do not make this type of bread if the setting isn't there)
- Peel and slice the bananas into very thin slices. Diced amount should equal about 2 cups.
- Make sure paddle is attached, and pour chopped bananas into the bread machine pan.
- In a large bowl, gently melt butter in the microwave for about 30 seconds, until just barely melted.
- Stir in vanilla, lemon juice, salt, eggs, sugar, flour and baking soda. Stir until well blended.
- On the panel of your bread machine, PRESS: MenuSelect: Adjust to matching number for Quick Bread (Cake or Batter Bread)Crust: Light (machine may have this set for you already)2.0 LB (most machines set this for you automatically on the Quick Bread setting)Press: Start. (Set timer for 45 minutes and begin monitoring. Do not trust your bread machines time for doneness)
- Remove the paddle as soon as the mixing cycle ends, just before the Bake cycle begins. If you miss the window of opportunity, just leave it in place.
- Keep lid closed for duration. Use a flashlight to peek if necessary. The bread is done when it is golden brown around the edges. The bread machine will often over-bake so you may need to take it out as much as 25-30 minutes before bake cycle finishes. Each machine varies.**
- When bread is done, with baking mittens, carefully remove the HOT pan by the handle and place on a baking sheet on your stove to cool completely.


Leave a Reply