The Vintage Cook
About
Subscribe
Recipe Box
Contact
Collaborate
menu icon
About
Subscribe
Recipe Box
Contact
Collaborate
Facebook
Pinterest
YouTube
subscribe
search icon
About
Subscribe
Recipe Box
Contact
Collaborate
Facebook
Pinterest
YouTube
×
Home
Baking
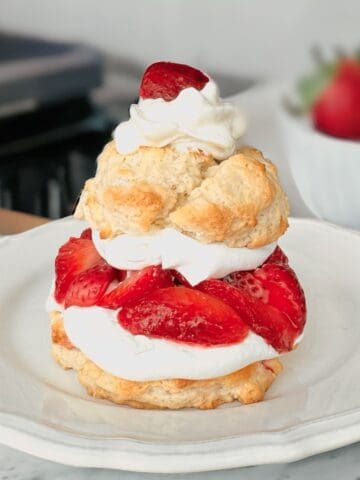
Strawberry Bisquick Shortcake Recipe
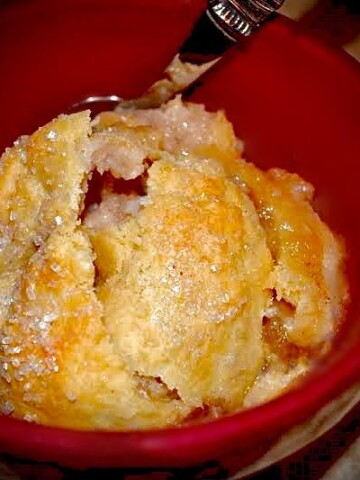
Bessie's Blue Ribbon Cider Basted Apple Dumplings
Copyright Protected. Any And All Use Of Photos Is Prohibited Without Written Permission.