
Raspberry Thumbprint Cookies are buttery little cookies with a sweet raspberry center and a light sugar coating. They're simple enough to make for an afternoon treat, yet pretty enough for a holiday cookie platter. Each cookie has a tender, rich butter-cookie base filled with raspberry jam or preserves.

One of my favorite things about these cookies is how something so simple can look like it took hours to make. Just a little indentation and a spoonful of raspberry jam turn an ordinary butter cookie into something special.
About This Recipe
Thumbprint cookies have been made with all kinds of fillings, but raspberry is one of my favorites. Its bright, slightly tart flavor is a tasty contrast to the sweetness of the butter cookie.
My recipe uses salted butter, an egg yolk, and pure vanilla extract for a rich, tender dough. The cookies are rolled in granulated sugar before filling, giving them a delicate sparkle and a slightly crisp exterior.
Another thing I love is that you can make the dough with a wooden spoon. There's no need to get out the electric mixer.
The most important part of this recipe is the 30-minute freeze before baking. It helps the cookies hold their shape, keeping that pretty little well in the center for the raspberry filling.
Then & Now: The Story of Thumbprint Cookies
Thumbprint cookies are often associated with Scandinavian baking, particularly the Swedish cookie known as hallongrotta, meaning "raspberry cave."
The name is descriptive. Each little cookie has a hollow center filled with raspberry jam, much like the thumbprint cookies we know today.
Over time, thumbprint cookies became familiar favorites in American kitchens, especially during the Christmas season. Their simple ingredients and colorful centers made them a natural addition to homemade cookie assortments. They pair nicely in a Christmas tin with my Walnut Snowball Cookies.
Today, you'll find thumbprint cookies filled with everything from strawberry preserves to lemon curd and chocolate. I still think the traditional raspberry version belongs in the cookie tin.
Ingredients for Raspberry Thumbprint Cookies

Ingredient Notes
Salted Butter: I use ¾ cup of salted butter, which is 1 ½ sticks. Gently soften it in the microwave using the defrost setting until it is very soft and beginning to melt. If you have unsalted butter, simply add ¼ teaspoon of salt while stirring the butter.
All-Purpose Flour: Regular all-purpose flour gives the cookies their structure. Measure carefully so the dough isn't too dry.
Granulated Sugar: Sugar is used twice in this recipe. The first ½ cup goes into the cookie dough, while the remaining sugar coats the outside of each cookie before baking.
Egg Yolk: Using just the yolk adds richness and helps bring the dough together.
Pure Vanilla Extract: A teaspoon of vanilla adds flavor to the butter and raspberry filling.
Raspberry Jam or Preserves: Either works beautifully. I like whisking the jam with a fork before filling the cookies to smooth out any lumps and make it easier to spoon into the centers.
At The Grocery Store
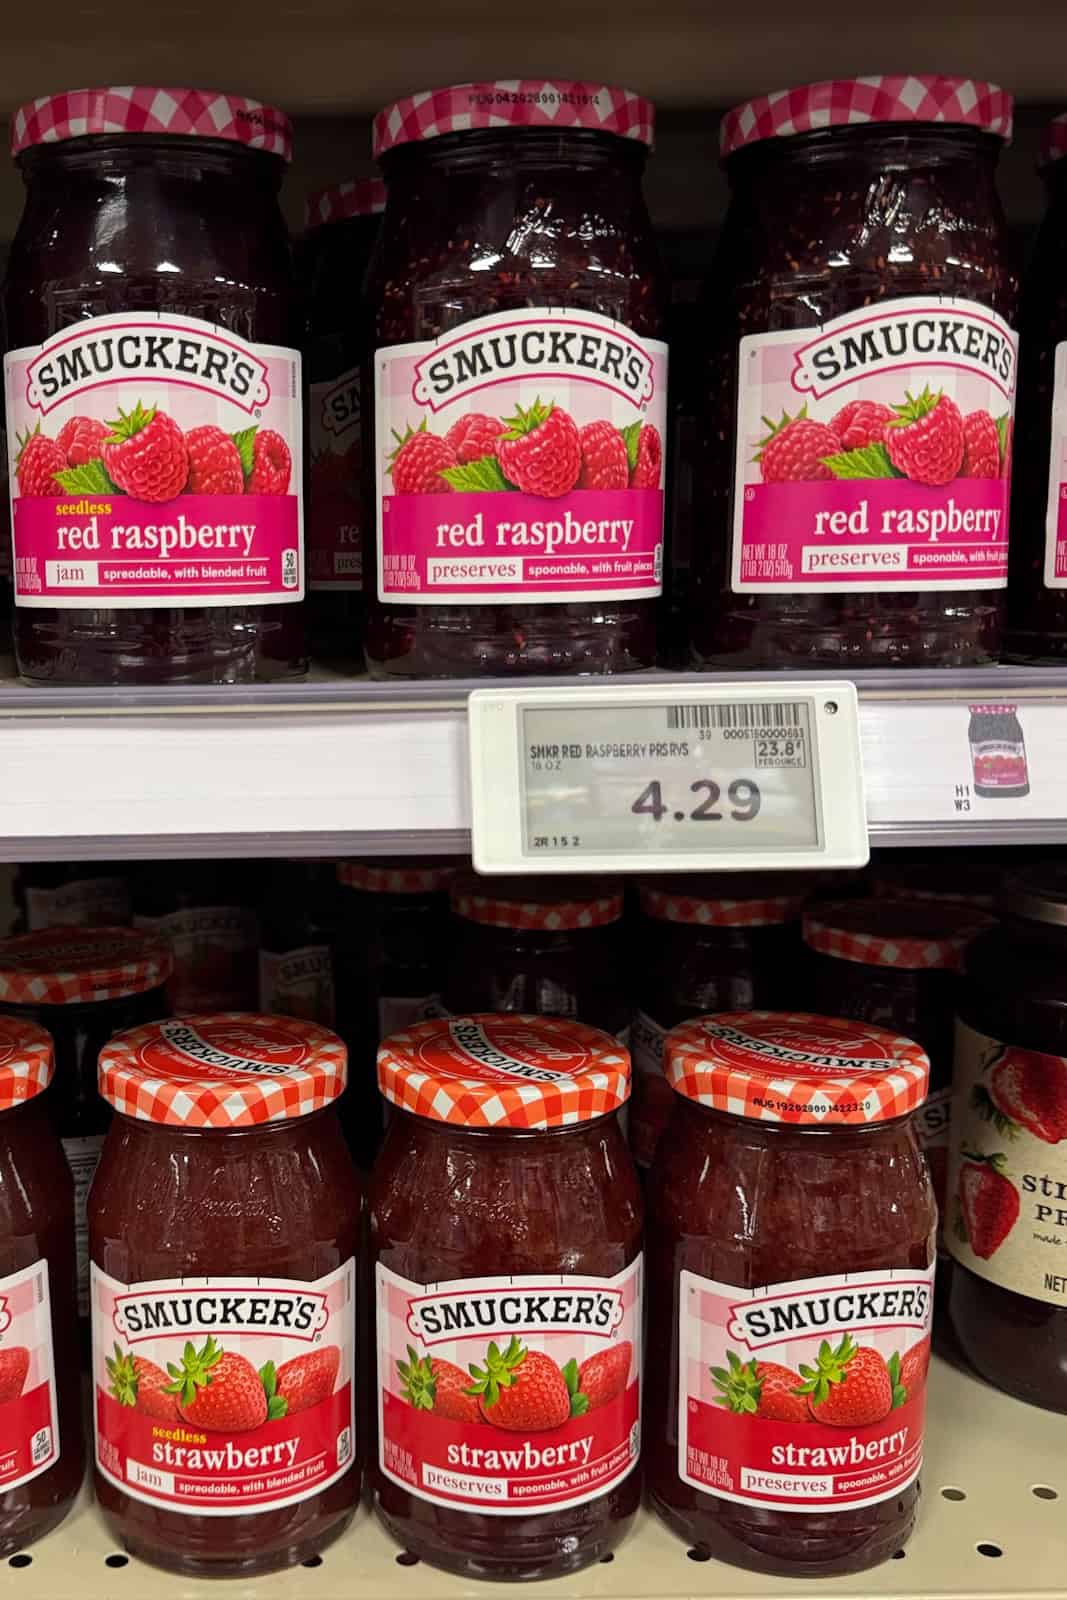
I like Smucker's Raspberry Jam or Preserves because of its rich red color. But recently I noticed they changed the labeling and the Jam and Preserves labels for each flavor, look almost identical. Either one, with or without seeds, works well.
Recipe Snapshots for Raspberry Thumbprint Cookies
1. Prepare the Cookie Dough
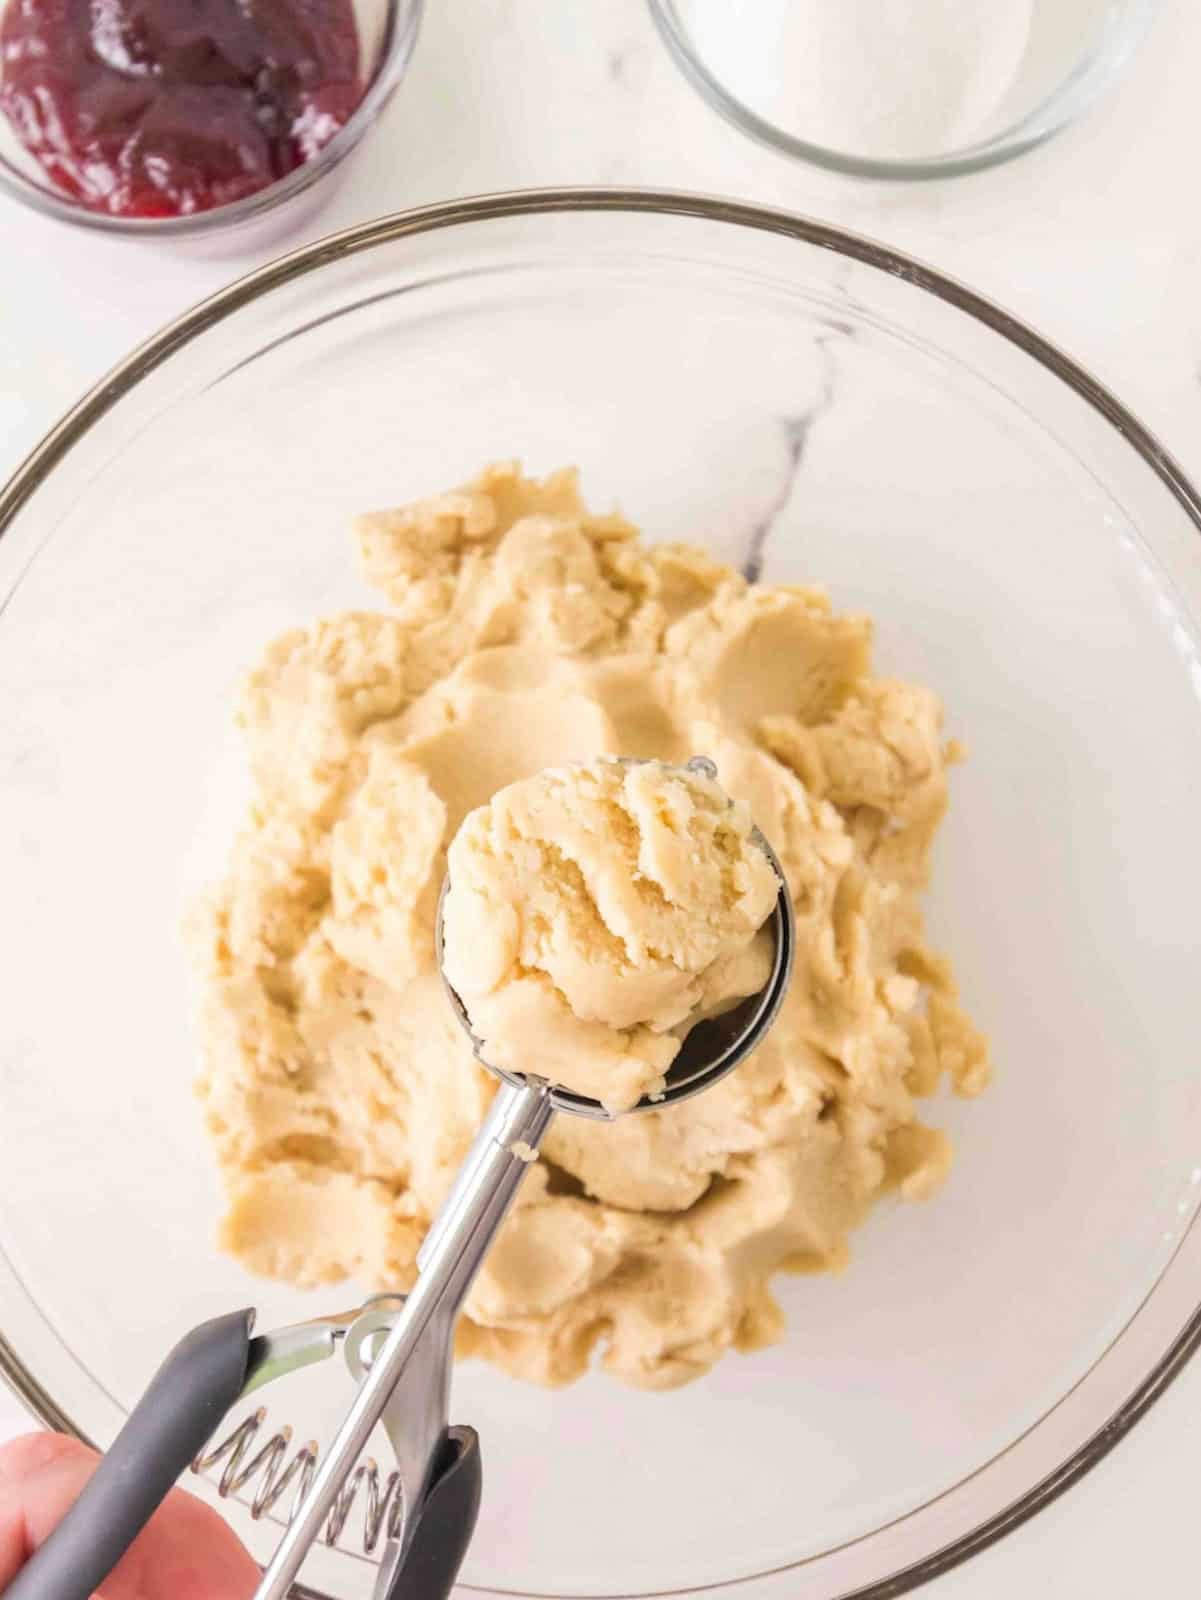
Use your hands to knead the dough until it comes together into a firm ball. Then roll the dough into little balls. I use a teaspoon sized scoop. Roll between your palms to get the ball nice and smooth.
2. Roll the Cookie Balls in Sugar
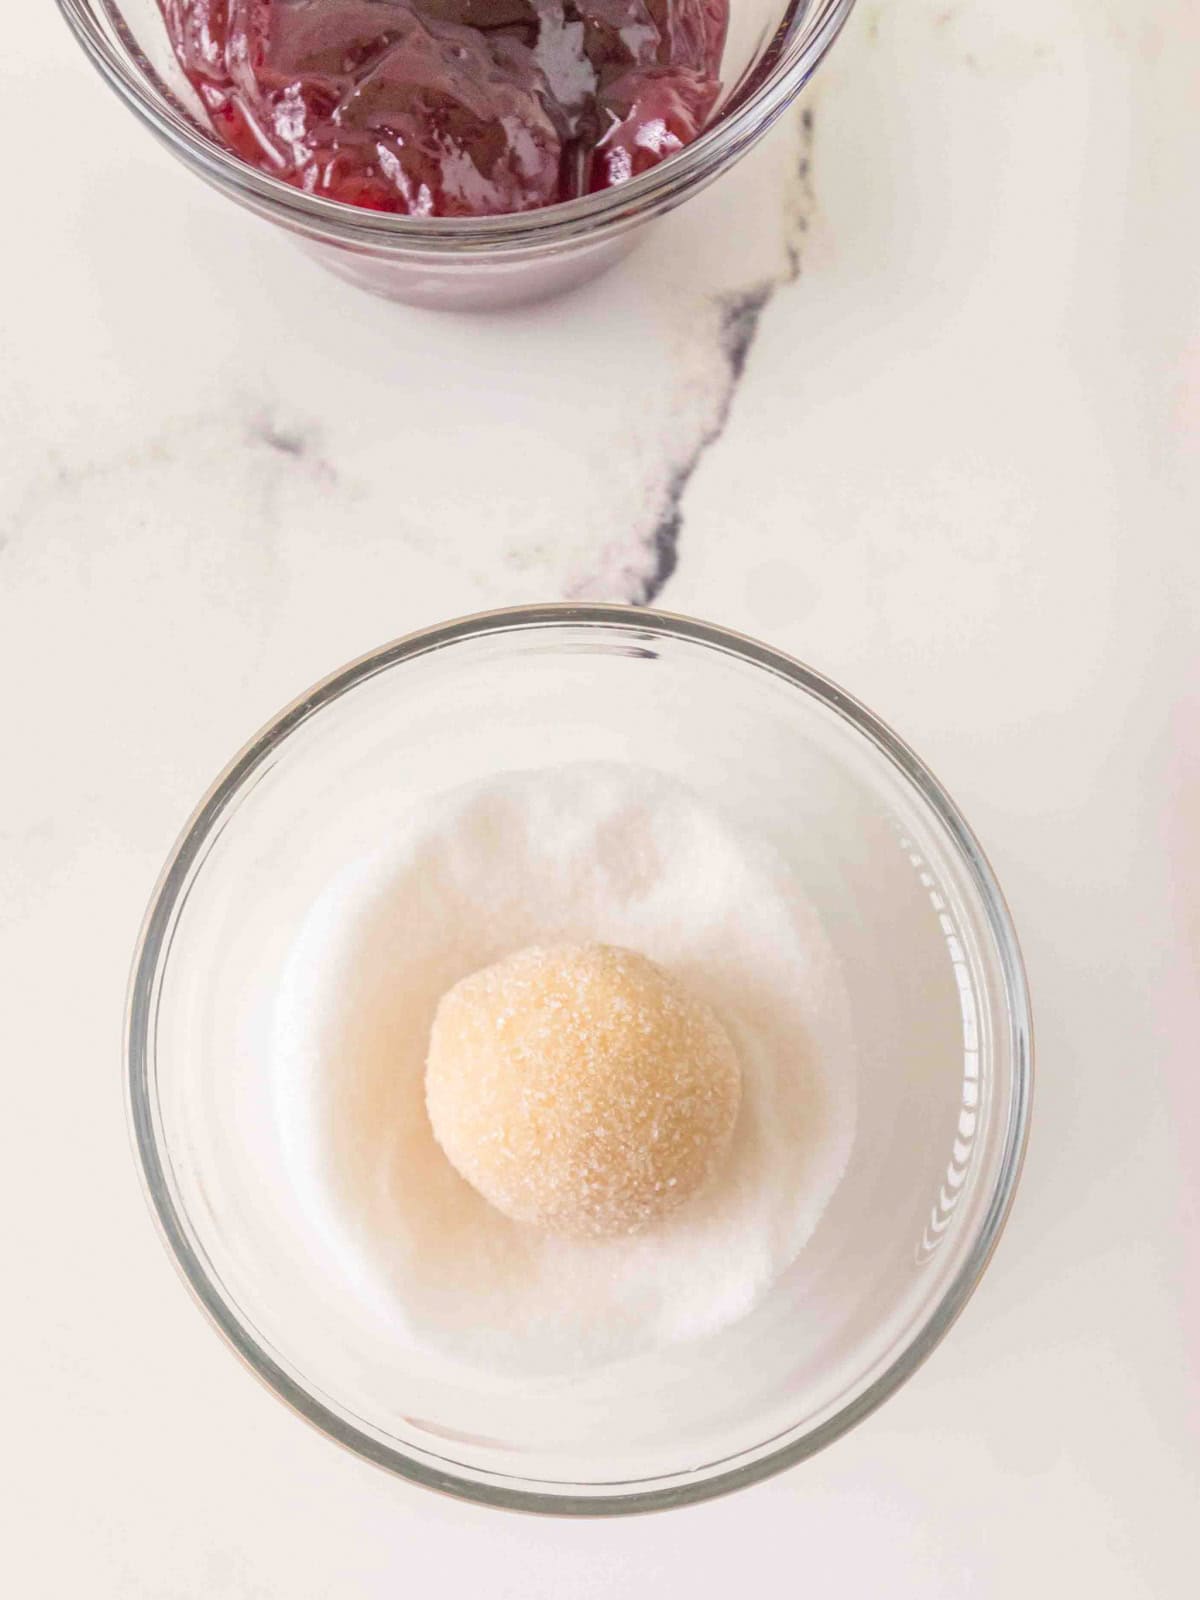
Roll each dough ball lightly in the sugar, then arrange the cookies 2 inches apart on a parchment-lined baking sheet.
3. Make the Thumbprints
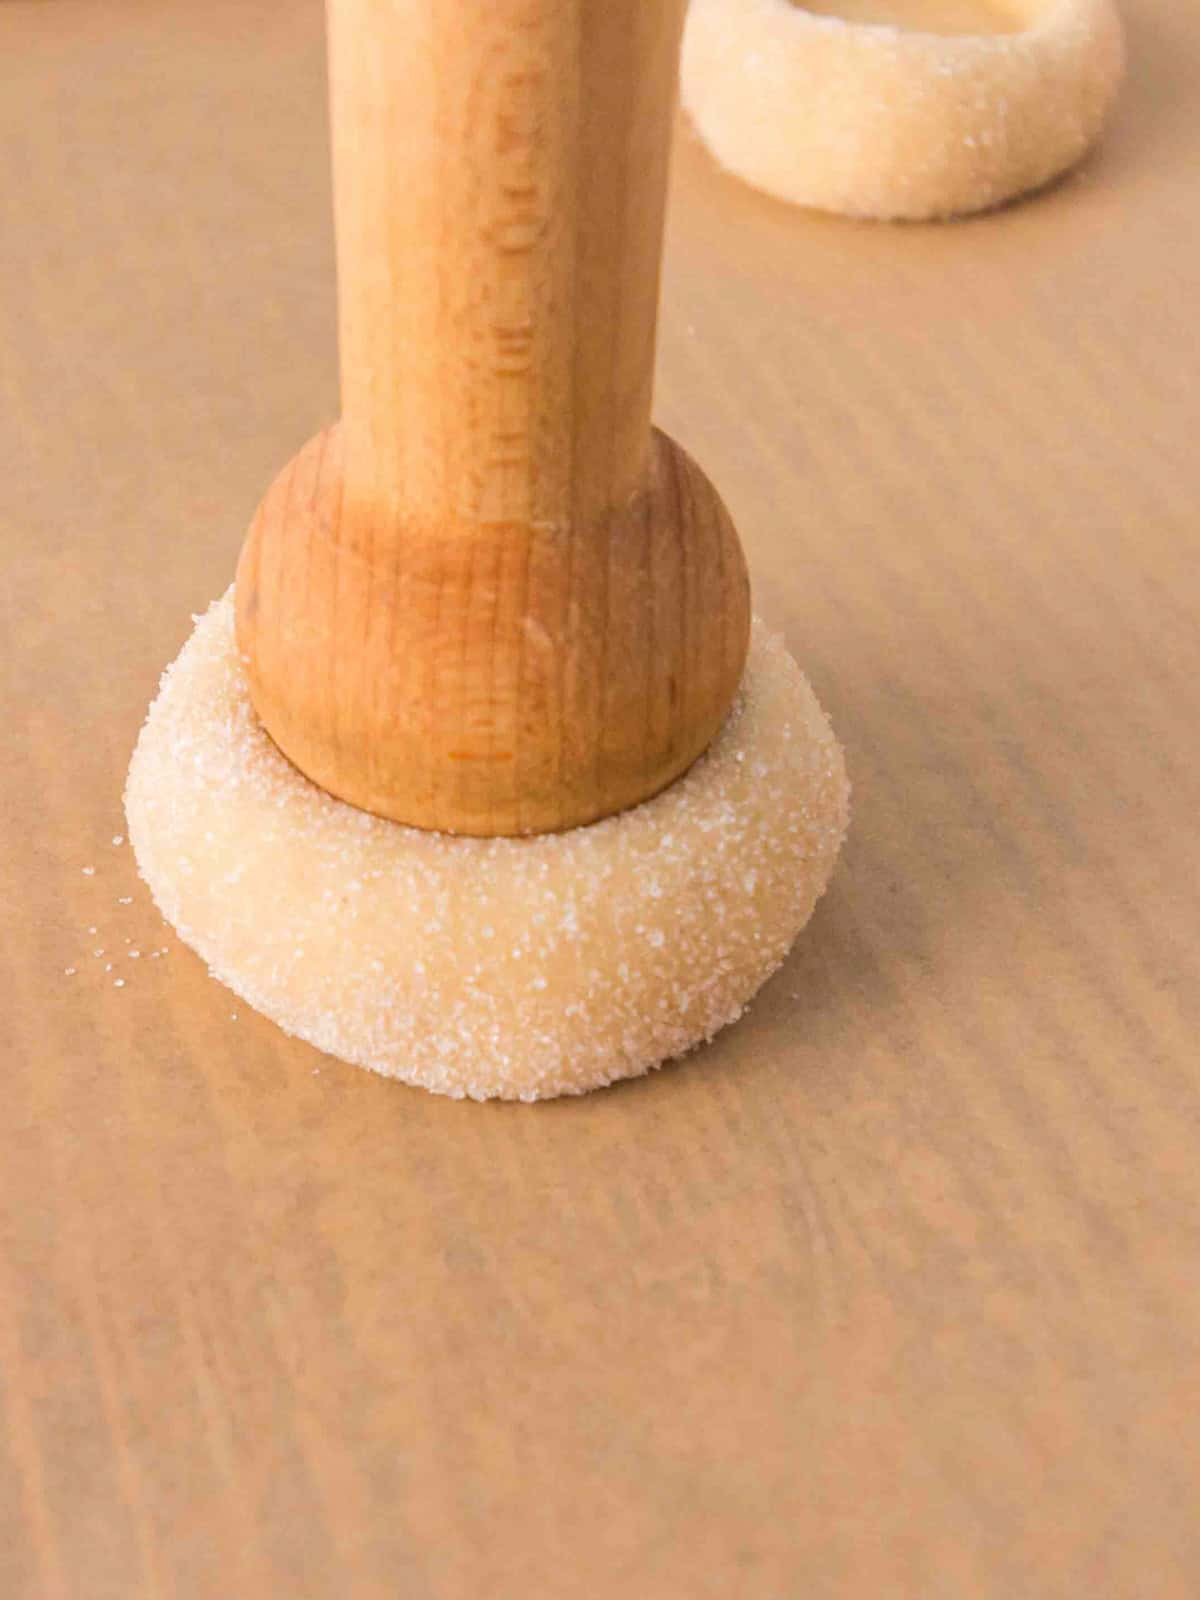
Using your thumb, the back of a small spoon, or a tart tamper, gently press an indentation into the center of each cookie.
Make the indentation deep enough to hold the raspberry filling without pressing completely through the dough.
4. Fill with Raspberry Jam
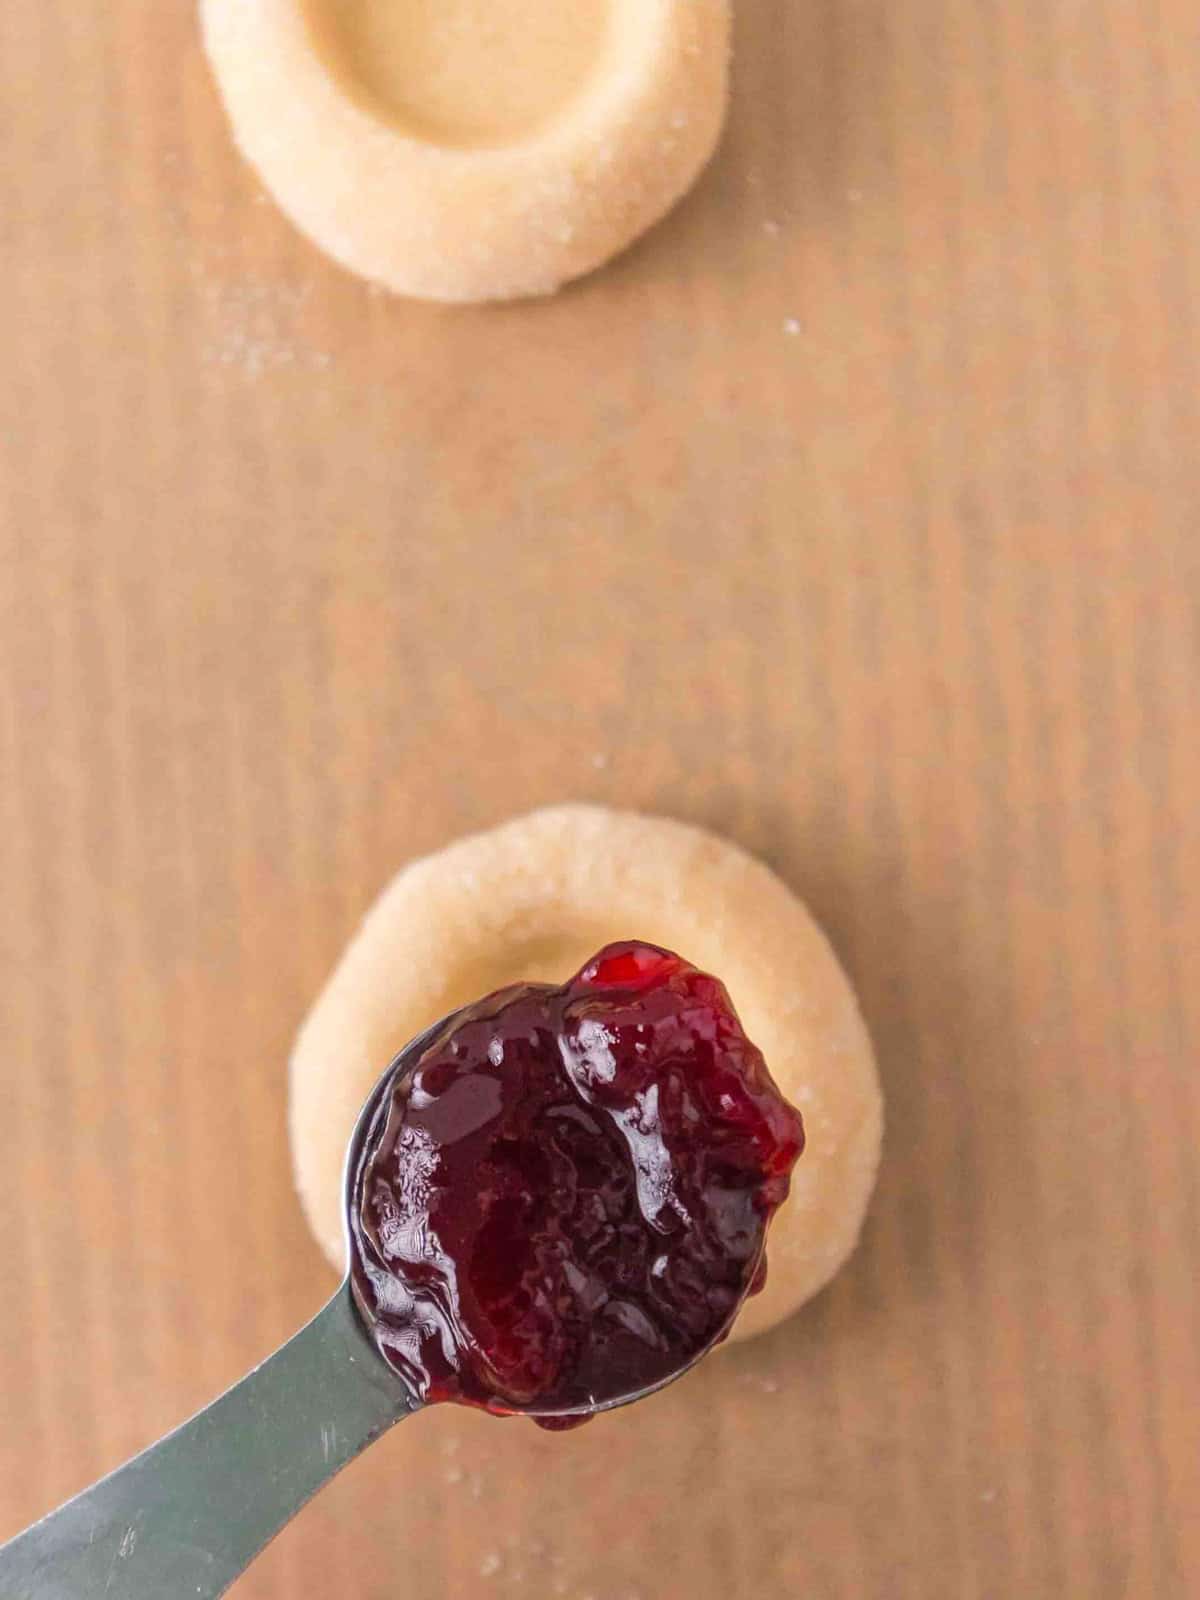
In a small bowl, whisk the raspberry jam or preserves with a fork until smooth.
Spoon approximately ½ teaspoon into each indentation.
5. Freeze Before Baking
Place the entire baking sheet in the freezer, uncovered, for 30 minutes.
Don't skip this step! Freezing firms up the dough and helps the cookies maintain their rounded shape and raspberry-filled centers during baking.
6. Bake the Cookies
Preheat the oven to 350°F.
Bake the cookies for 16–18 minutes, until they are pale with just a hint of golden color around the edges.
Leave the cookies on the baking sheet until completely cool. If desired, finish with a light dusting of powdered sugar for a little extra dazzle.
Recipe Success Tips
Use a small scoop. Keeping the dough balls uniform helps the cookies bake evenly and gives your finished platter a prettier appearance.
Smooth the dough before filling. Rolling each ball between your palms helps create a neat, rounded cookie.
Don't overfill the centers. Approximately ½ teaspoon of raspberry jam is enough. Too much filling can spill over as the cookies bake.
Freeze for the full 30 minutes. This is especially important because the recipe begins with very soft butter.
Watch the edges. These cookies should remain fairly pale. A little golden color around the edges is all you're looking for.
Make It Your Own
Although raspberry is my favorite, you can easily make these cookies with strawberry jam, or other preserves.
You can also dust the cooled cookies with powdered sugar just before serving.
Storage
Once completely cooled, store them in the refrigerator until ready to serve. I would not stack them on top of each other because the jam is delicate.
Lanie's 🔅Recipe Reflections
I've always thought thumbprint cookies were adorable. That little jewel of raspberry in the center makes them sparkle. I love the way raspberry thumbprint cookies brighten a Christmas cookie platter. The red centers look beautiful alongside Snowball Cookies or the Best Snickerdoodle Cookies!
Extra! Extra! Read All About It! Join my free email list to receive the Newsletter and follow along on YouTube!

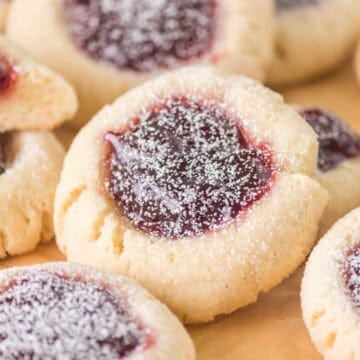
Raspberry Thumbprint Cookies
Ingredients
- ¾ cup salted butter (1 ½ sticks), soft, gently melted
- 1 ½ cups all-purpose flour
- ½ cup granulated white sugar (1st use)
- 1 egg yolk
- 1 teaspoon pure vanilla extract
For Rolling and Filling
- ¼ cup granulated white sugar (2nd use)
- ½ cup raspberry jam or preserves
Instructions
- Gently melt butter in a large bowl on Defrost in the microwave, about 30 seconds until soft. Add flour and ½ cup of the sugar. Stir with a wooden spoon until moistened and add yolk and vanilla. Continue stirring until dough begins to form.
- Then, knead the dough with your hands until a firm ball forms.
- Scoop and roll dough into small teaspoon-sized balls. Roll in between your palms until dough is a small smooth ball.
- Pour the ⅓ cup of sugar on a plate and roll the balls to lightly coat. Place balls 2-inches apart on a parchment-lined baking sheet.
- Using your thumb, the back of a spoon, or a tart tamper make an indention in the center of each ball.
- In a small bowl, with a fork, whisk the jam until lumps are smooth. Fill each indention with ½ teaspoon of jam or preserves. (A very small spoon works well.) Place baking tray uncovered in freezer for 30 minutes. (Do not skip this step- dough needs to firm up to maintain shape during baking.)
- Preheat Oven to 350 ℉.
- Bake for 16 to 18 minutes, or until pale and just golden on edges. Leave on the pan until cool.
- Optional* When completely cool, you may dust with powdered sugar for extra dazzle.


Leave a Reply