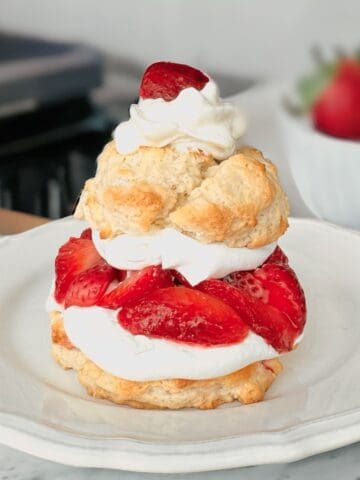
- Strawberry Bisquick Shortcake Recipe
- Ultimate Chocolate Chip Cookies Recipe
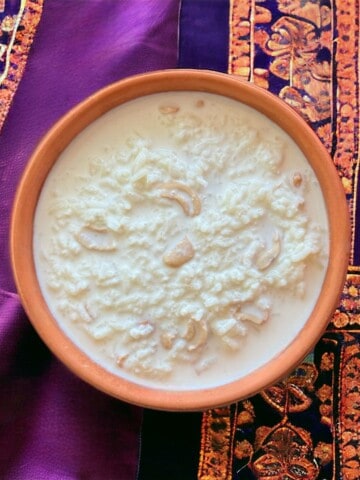
- Indian Rice Pudding - Rice Kheer
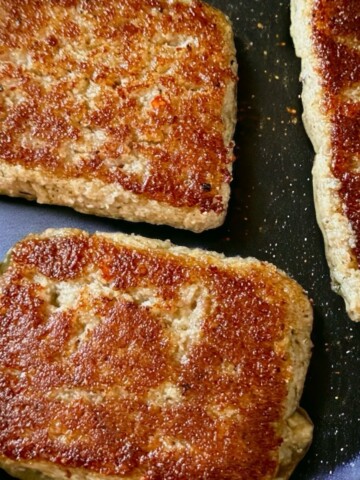
- Homemade Scrapple Recipe With Sausage
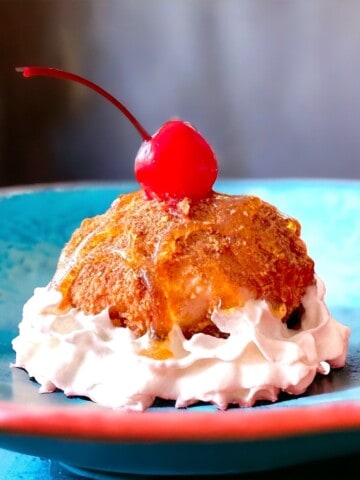
- Air Fryer Fried Ice Cream (No Oil)
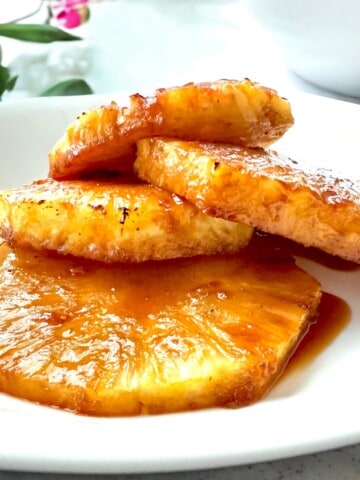
- Easy Air Fry Caramelized Pineapple - 2 Ingredients
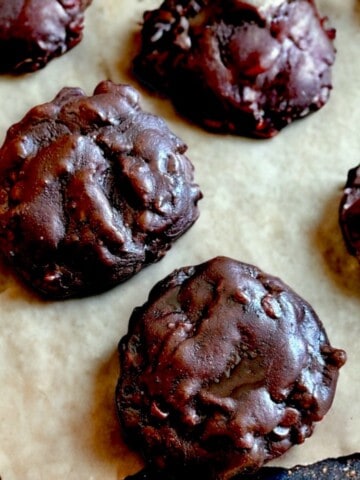
- Dark Chocolate Covered Raisinet Cookies
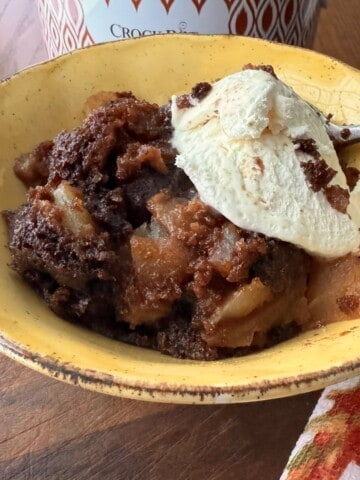
- Crock-Pot Apple Bourbon Upside Down Cake

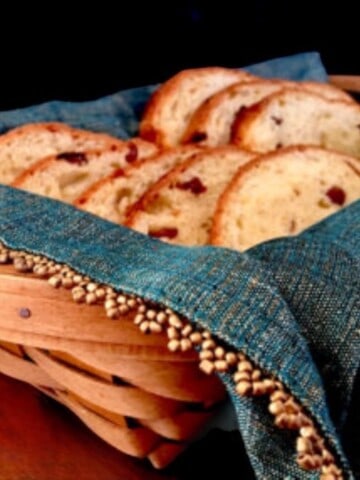
Breads
See more bread recipes →

About Lanie
Hello! I’m Lanie. Welcome to The Vintage Cook. Join me as I share classic recipes and new creations too